Note: This guide provides a general idea of what the SSO connection process involves, but should not be used as a step-by-step guide for configuring your SSO. To set up SSO with Spekit, go to the 'Connect' page within your Spekit Web App and proceed through the setup walkthroughs.
1) Create Enterprise Application
Select 'Enterprise applications' from the Entra ID (Azure) dashboard.

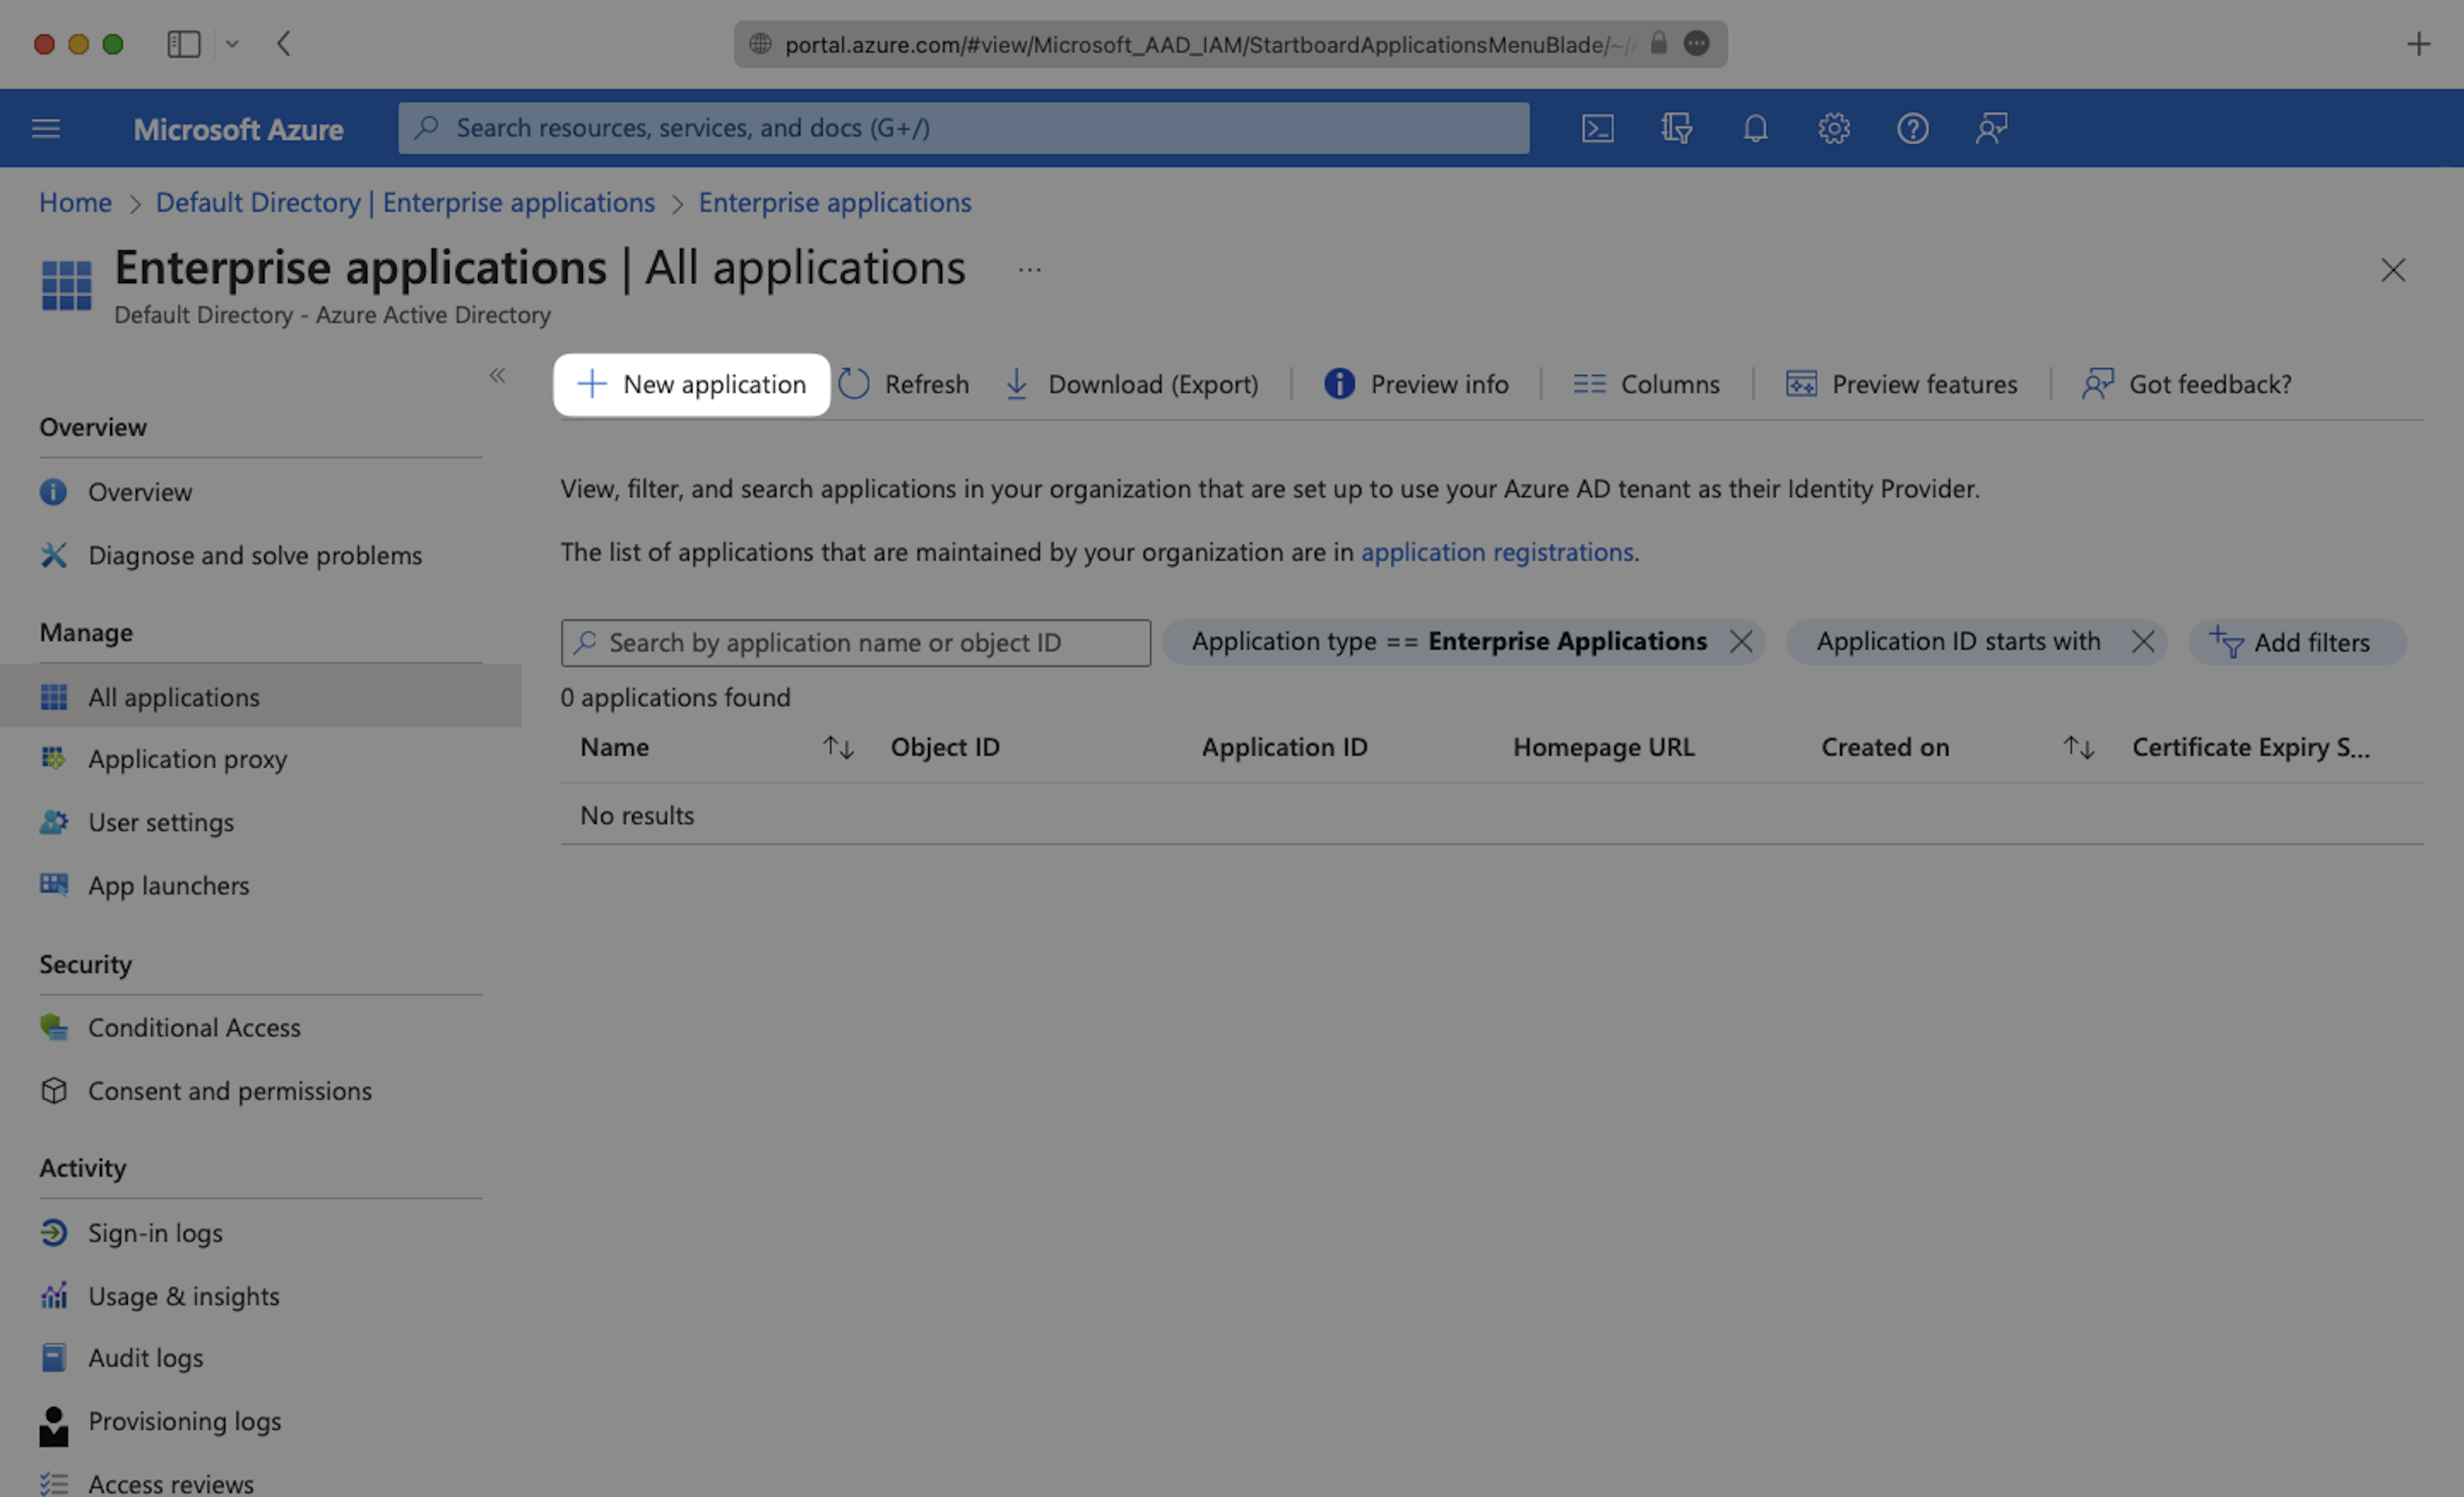
Click "New application" and continue.
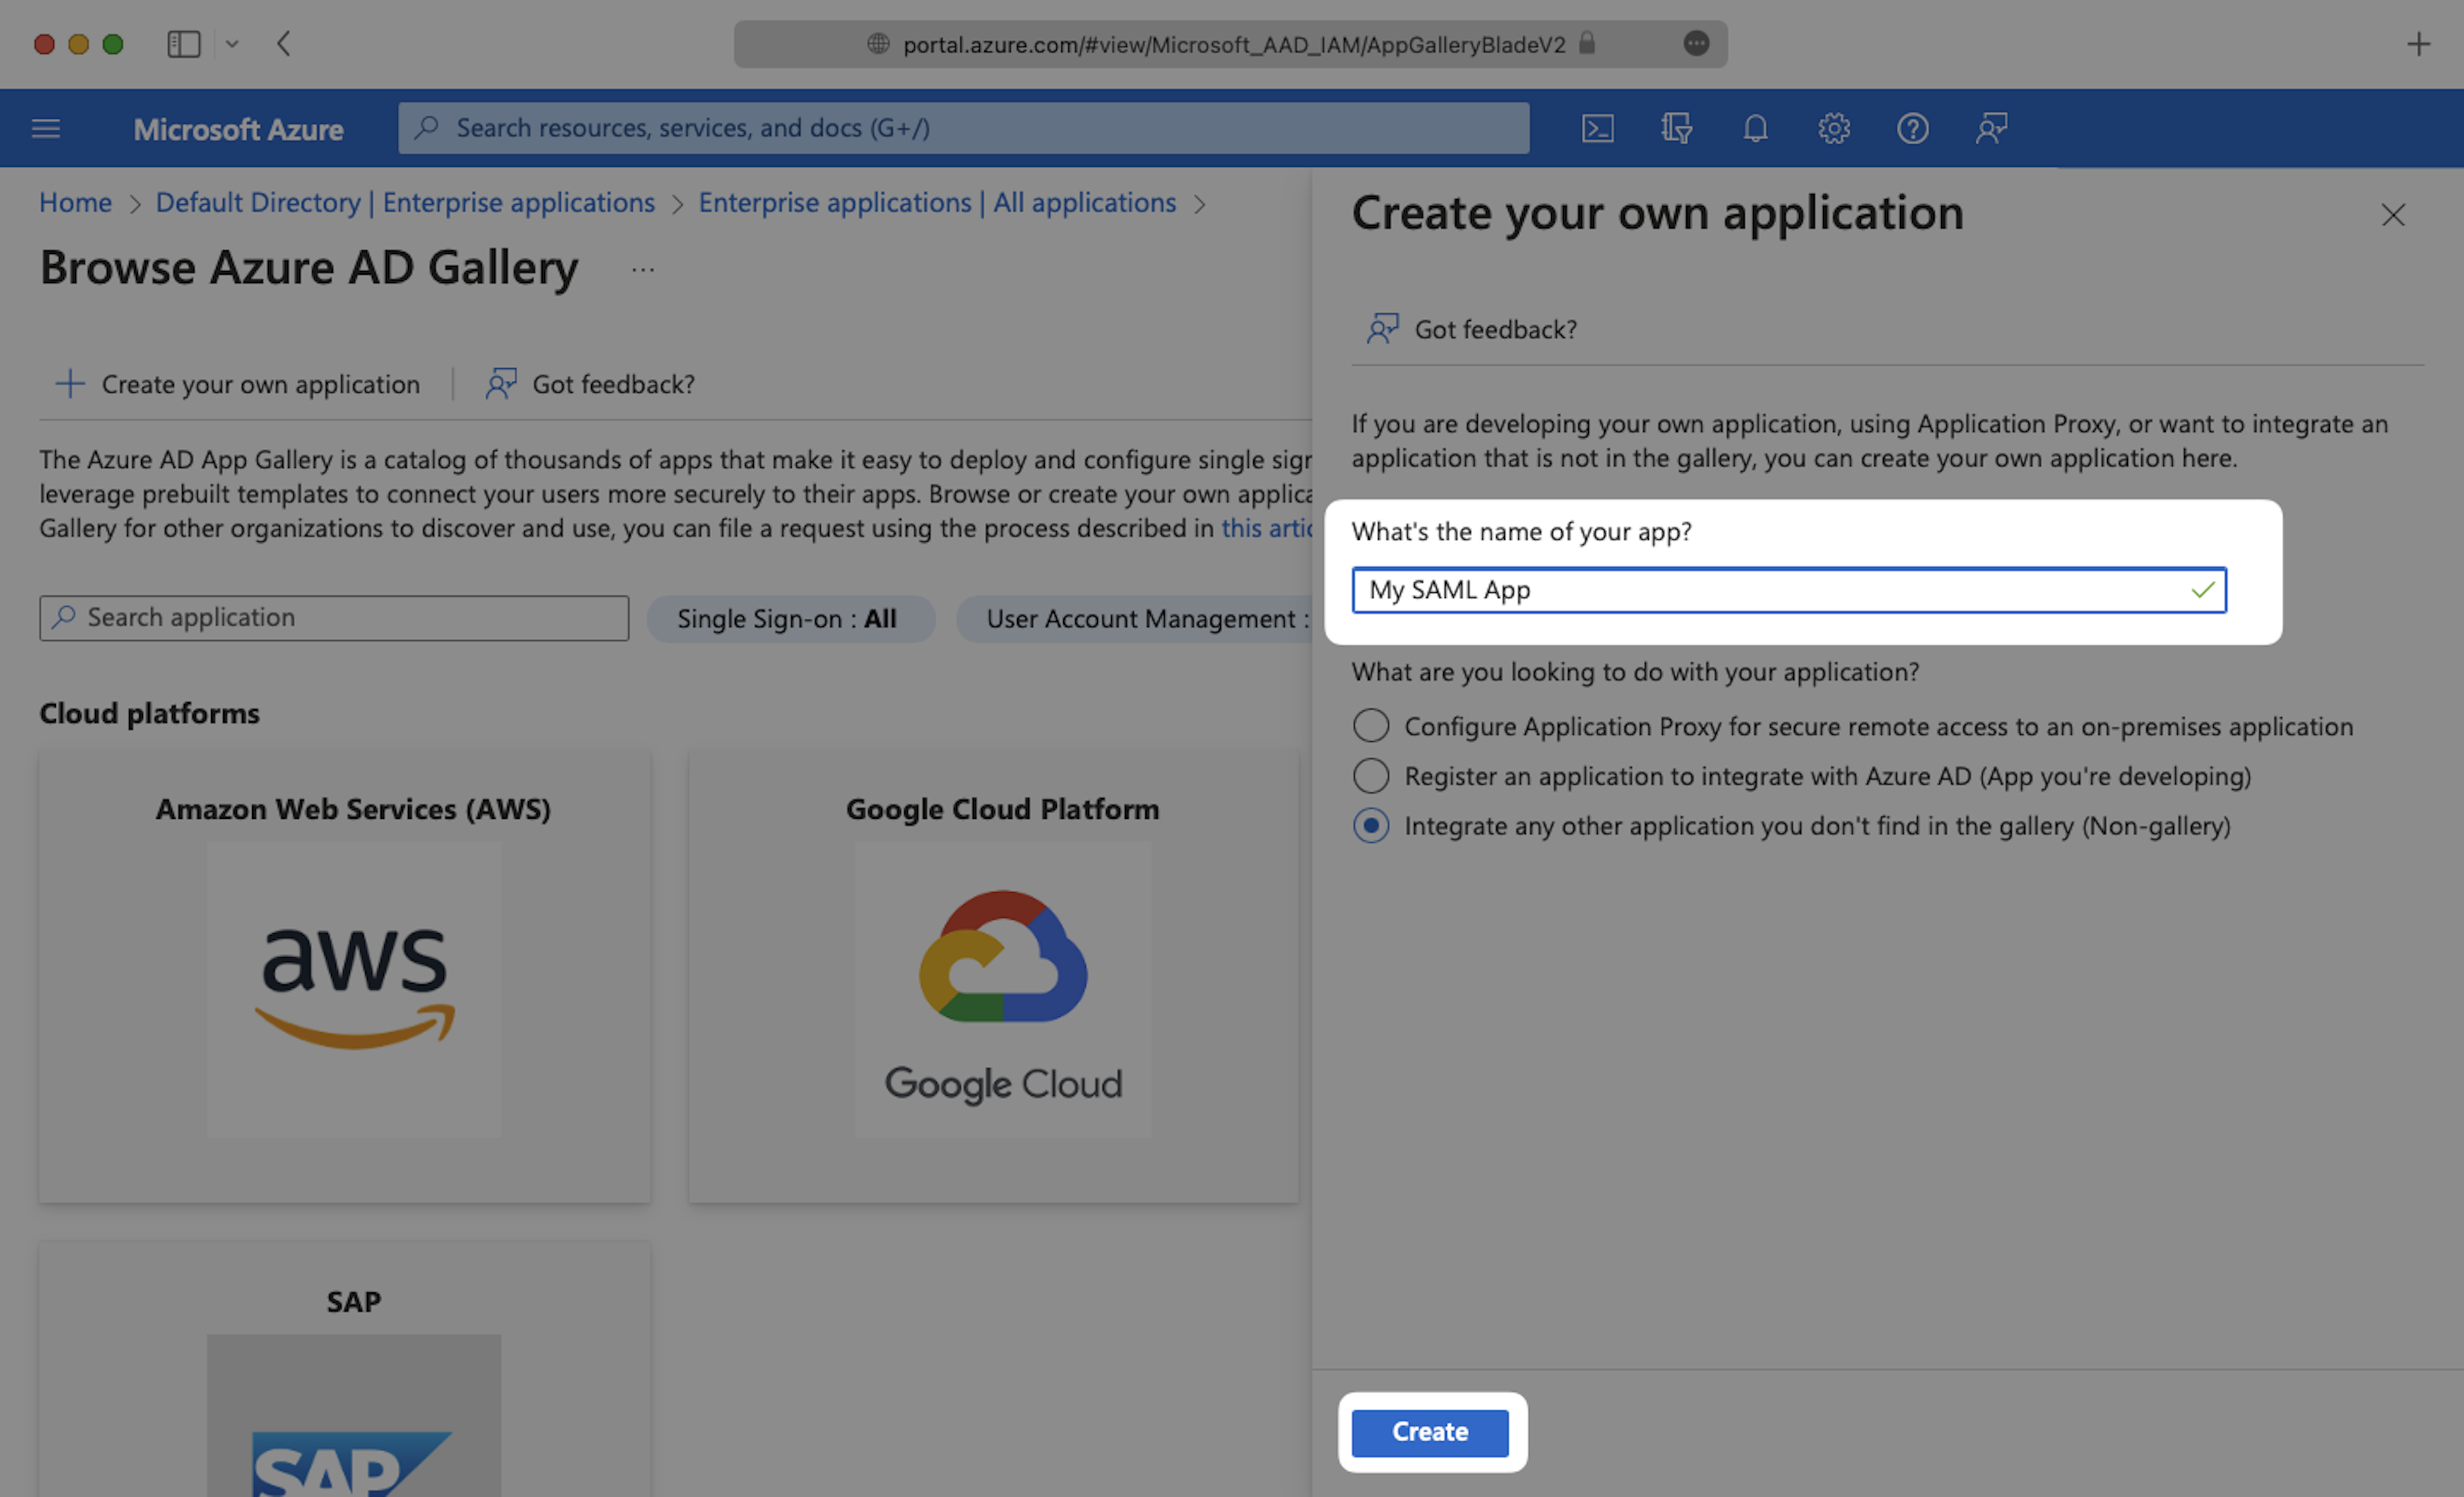
Select "Create your own application", then enter Spekit as your app name. Under "What are you looking to do with your application?", select "Integrate any other application you don't find in the gallery (Non-gallery)", then select "Create".
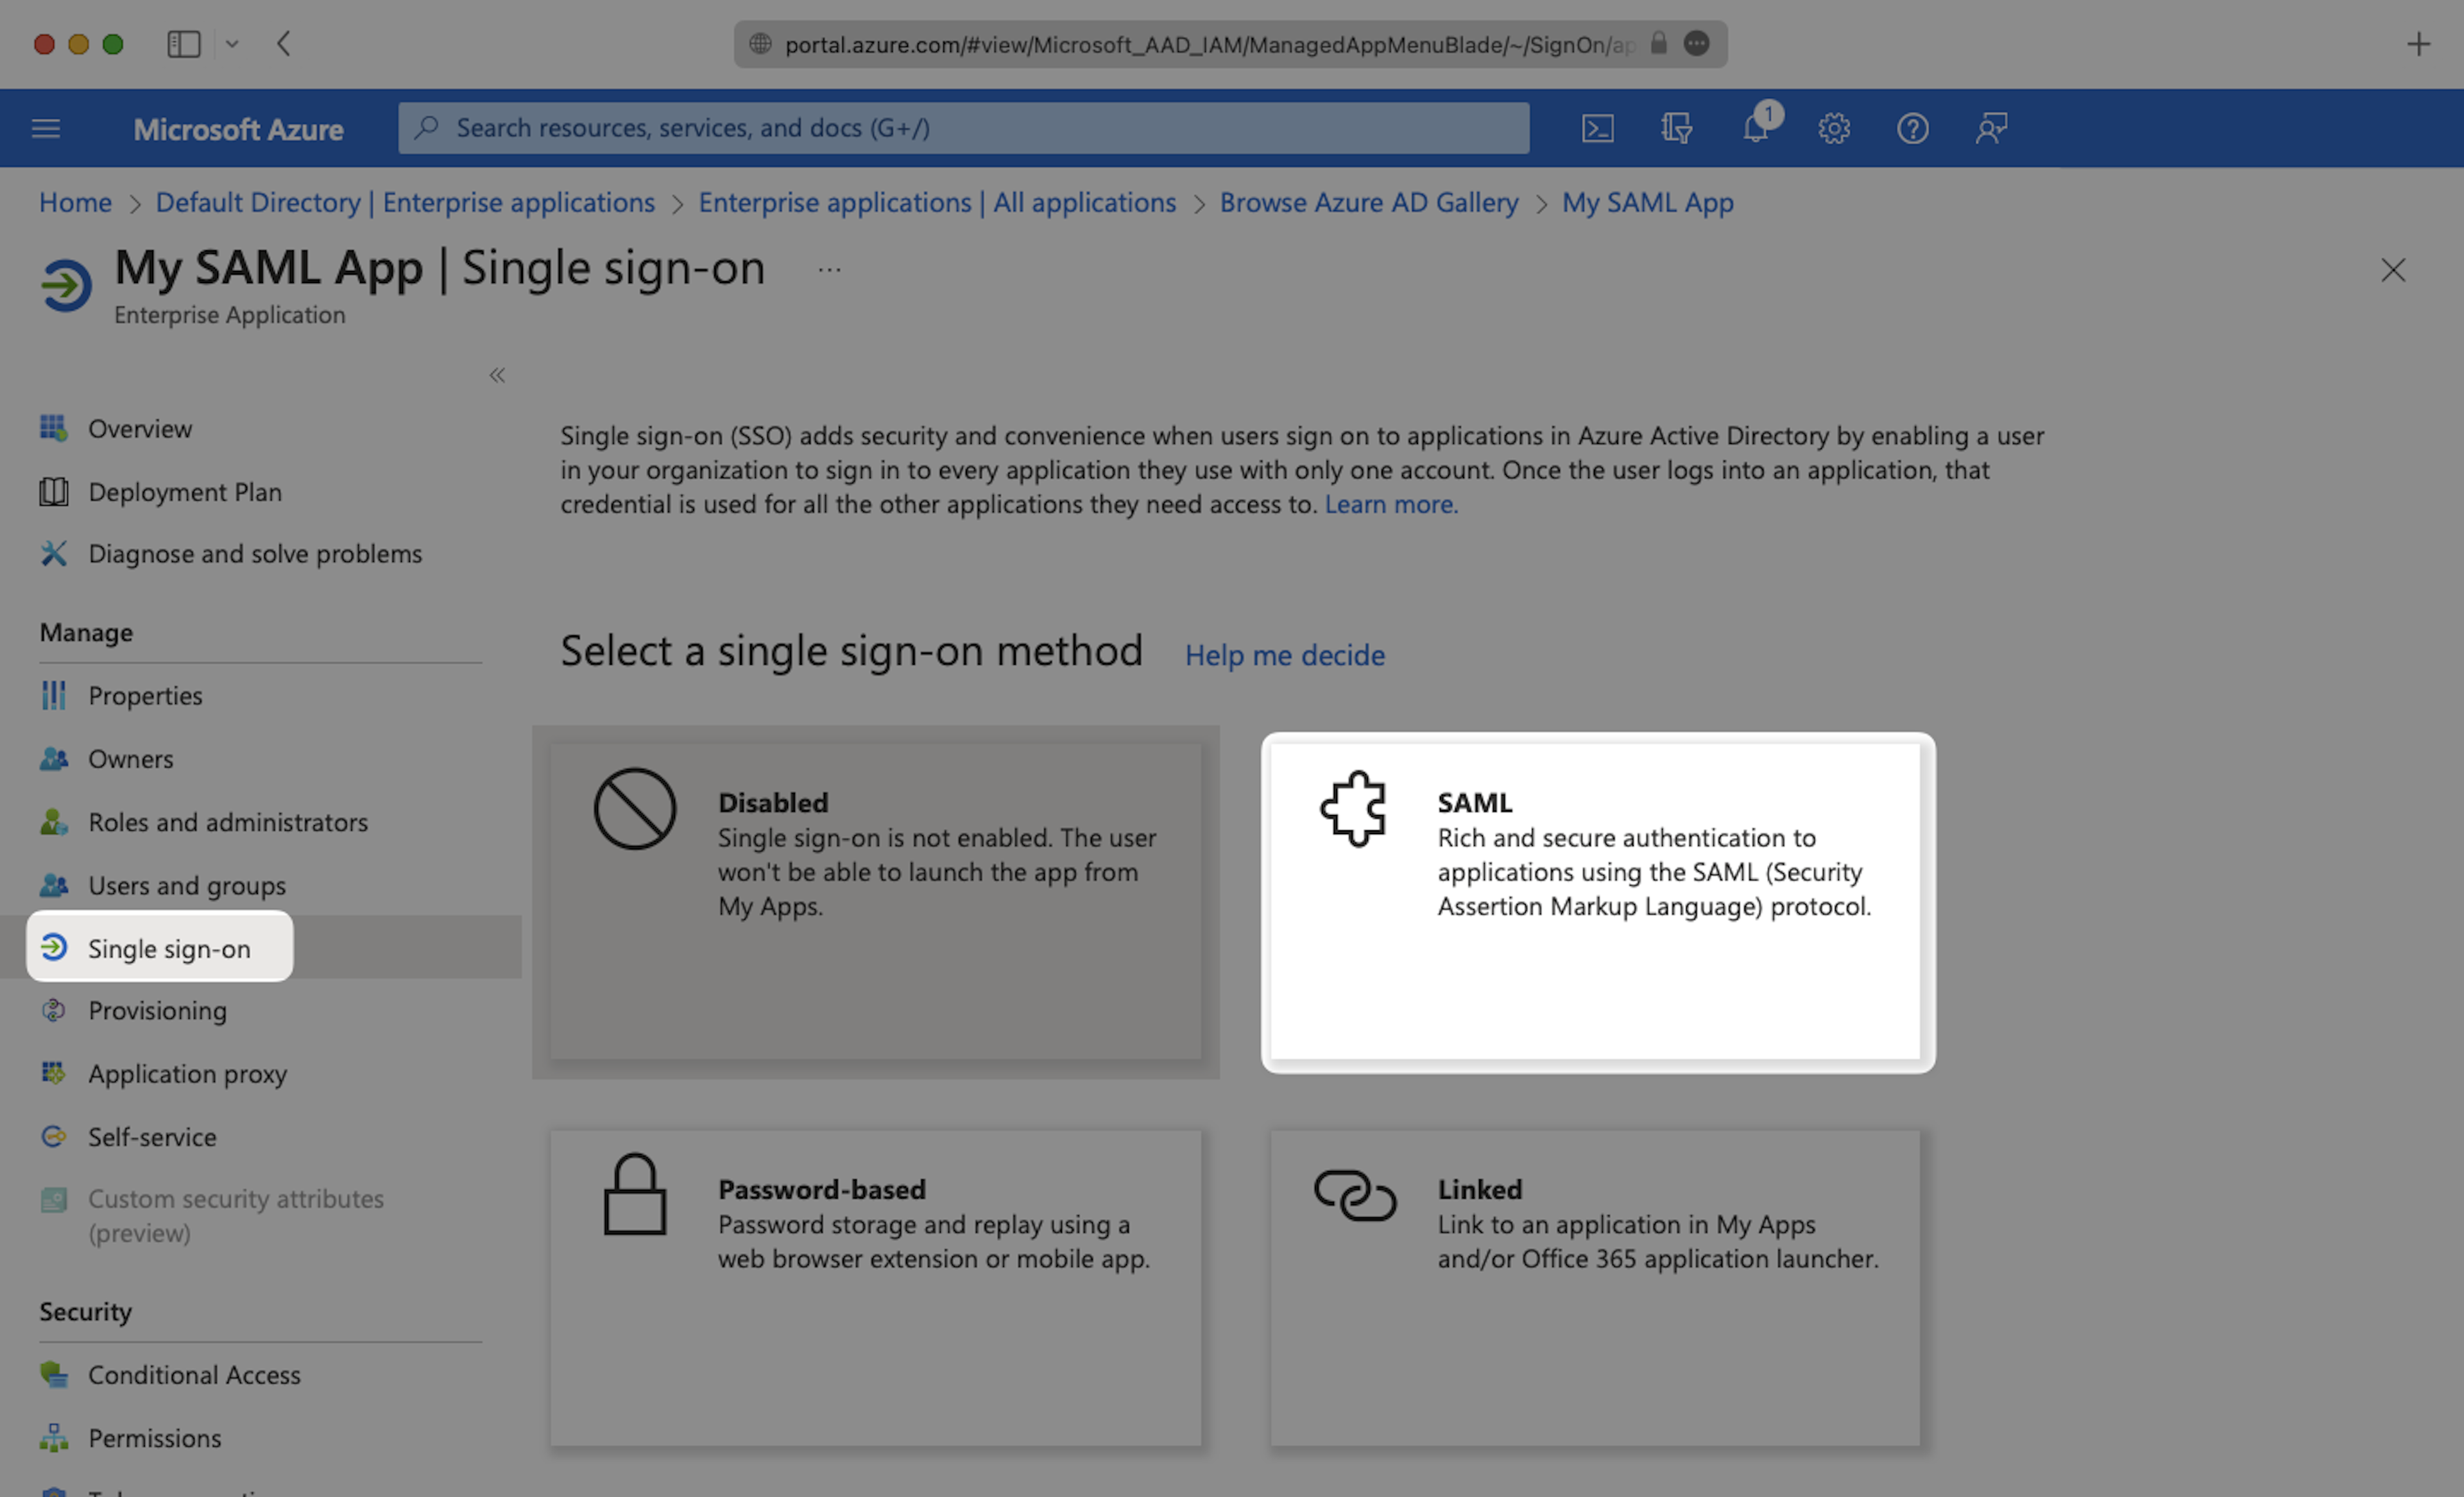
Select "Single Sign-On" from the "Manage" section in the left sidebar navigation menu, and then "SAML".
2) SAML Configuration
Click the Edit icon in the top right of the first step.
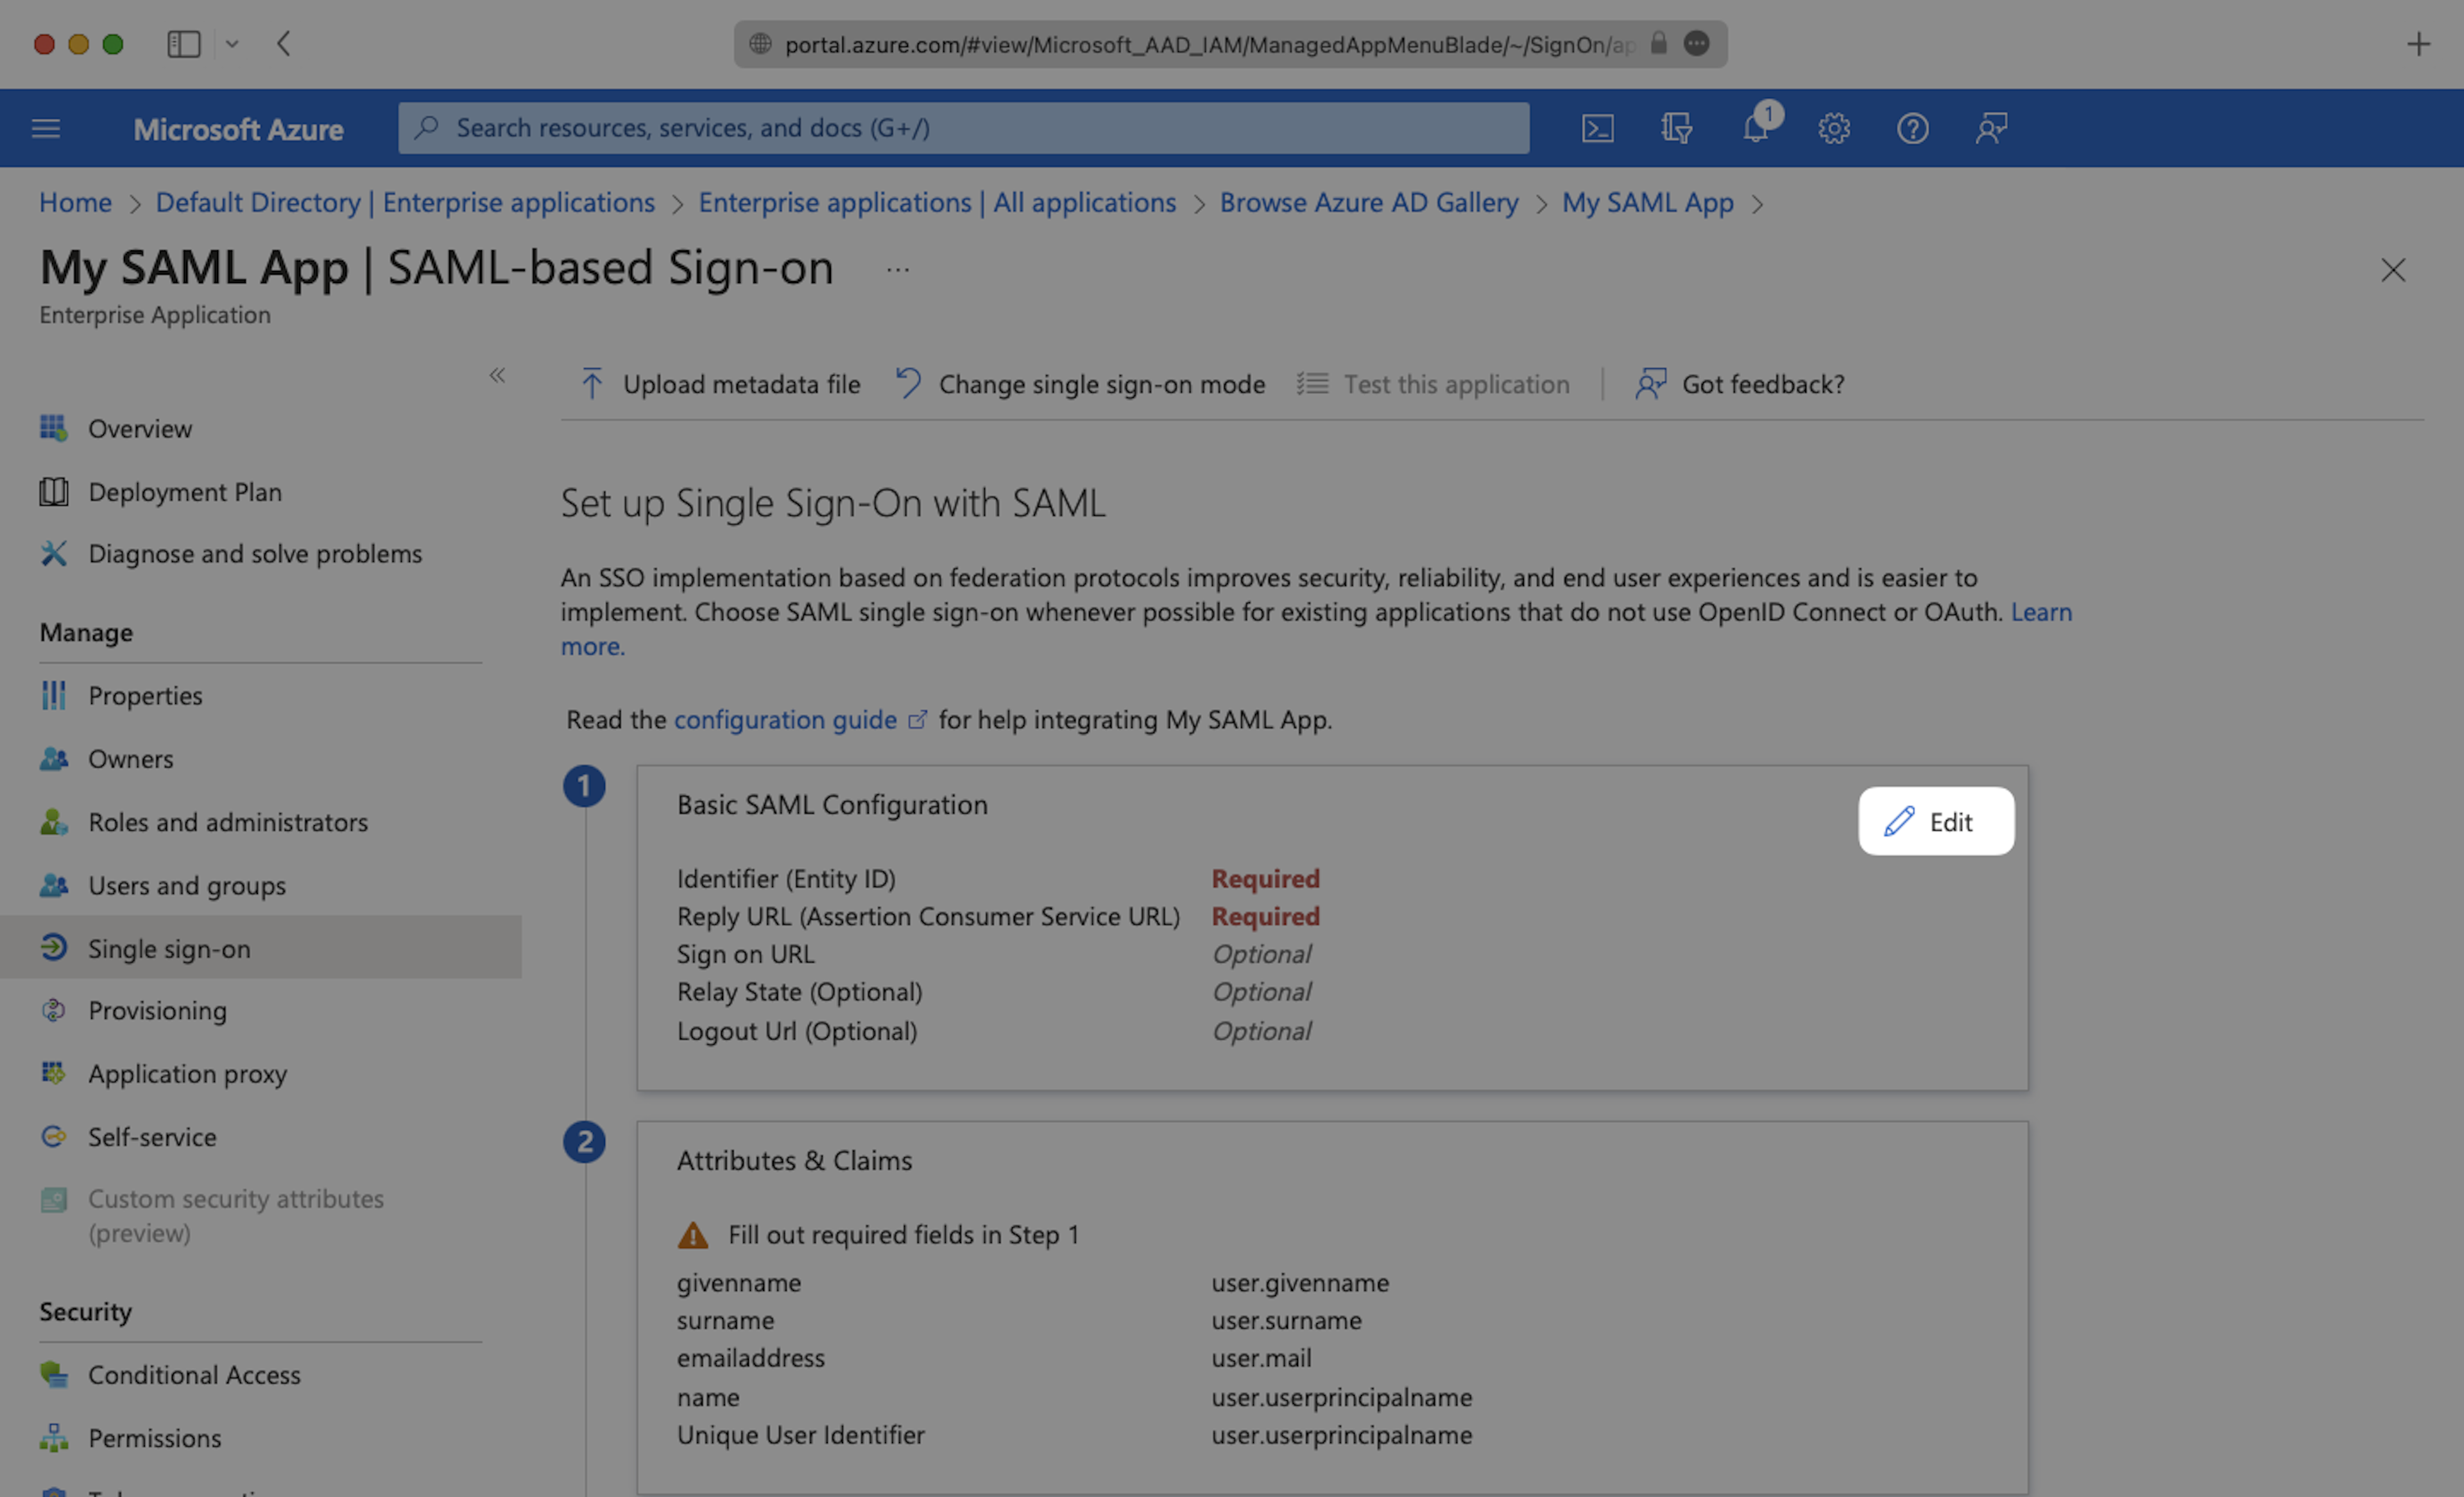
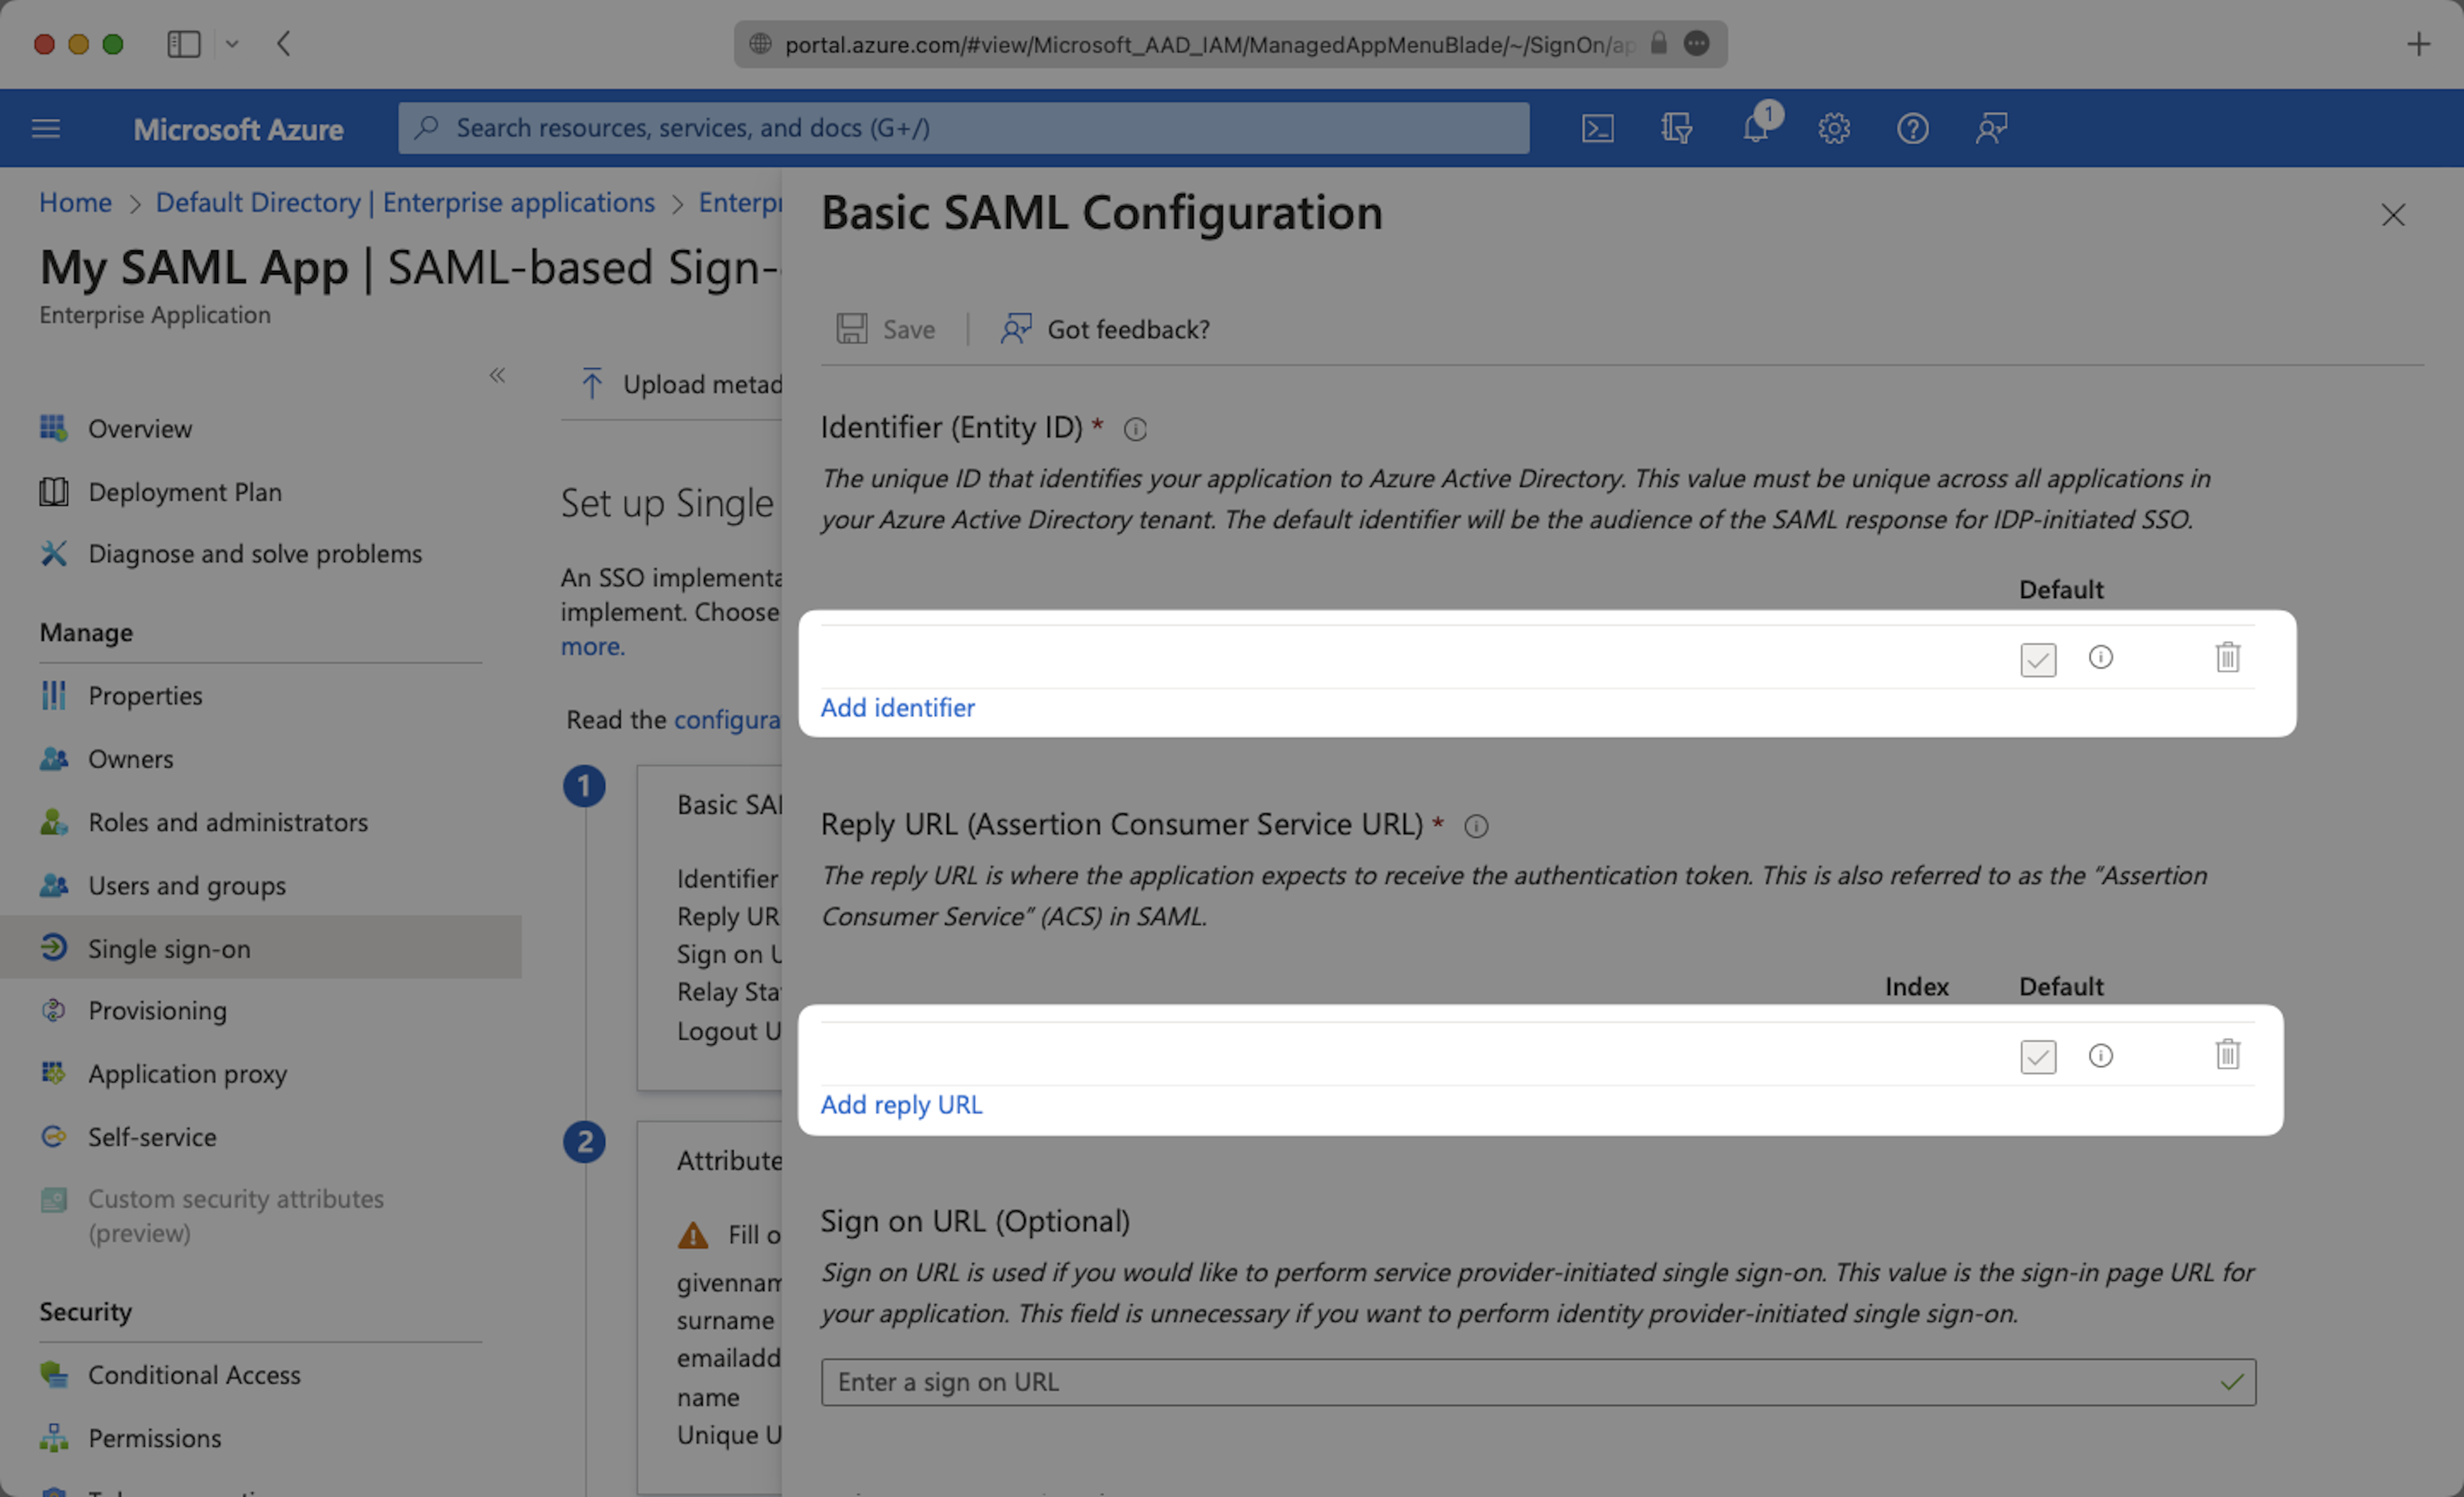
Submit the Identifier and the Reply URL in the Basic SAML Configuration page provided to you in the Spekit SSO walkthrough located in your Spekit instance.
3) Configure Attributes & Claims
Click the Edit icon in the top right of the second step.

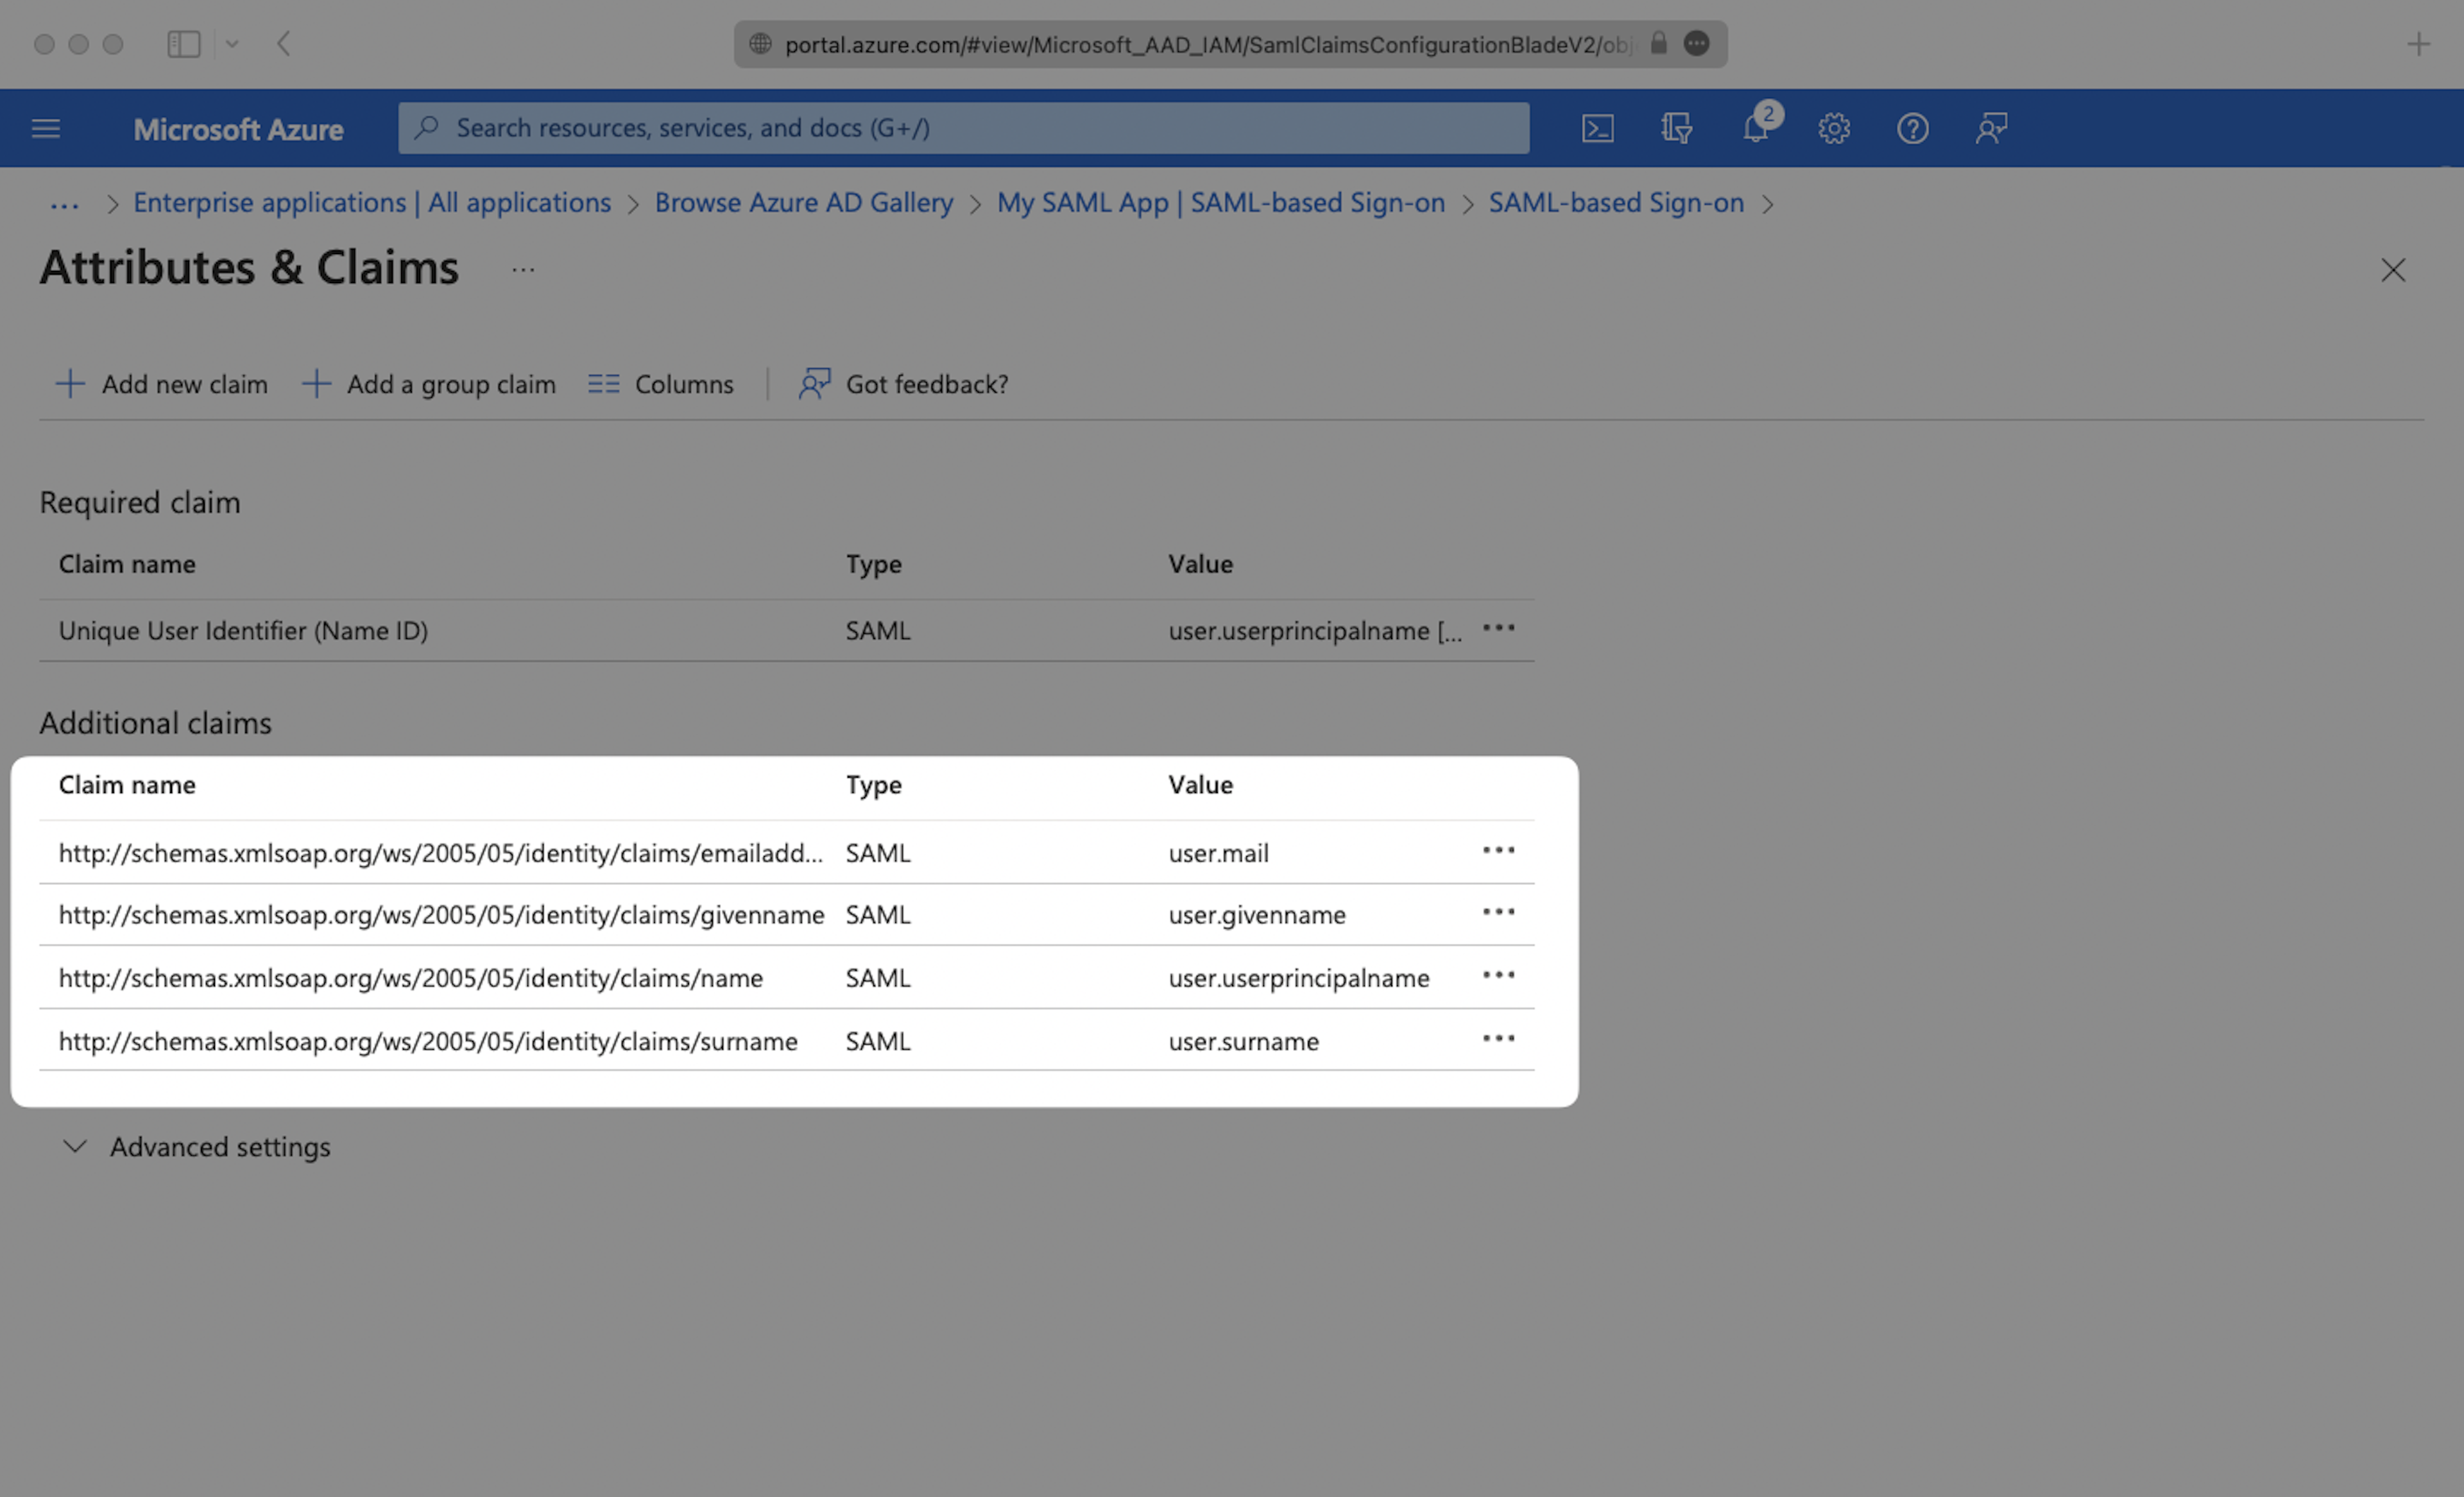
Fill in the following Attribute Statements by entering the claim name in the "Name" field and the value in the "Source attribute" field.
4) Assign Users to SAML App
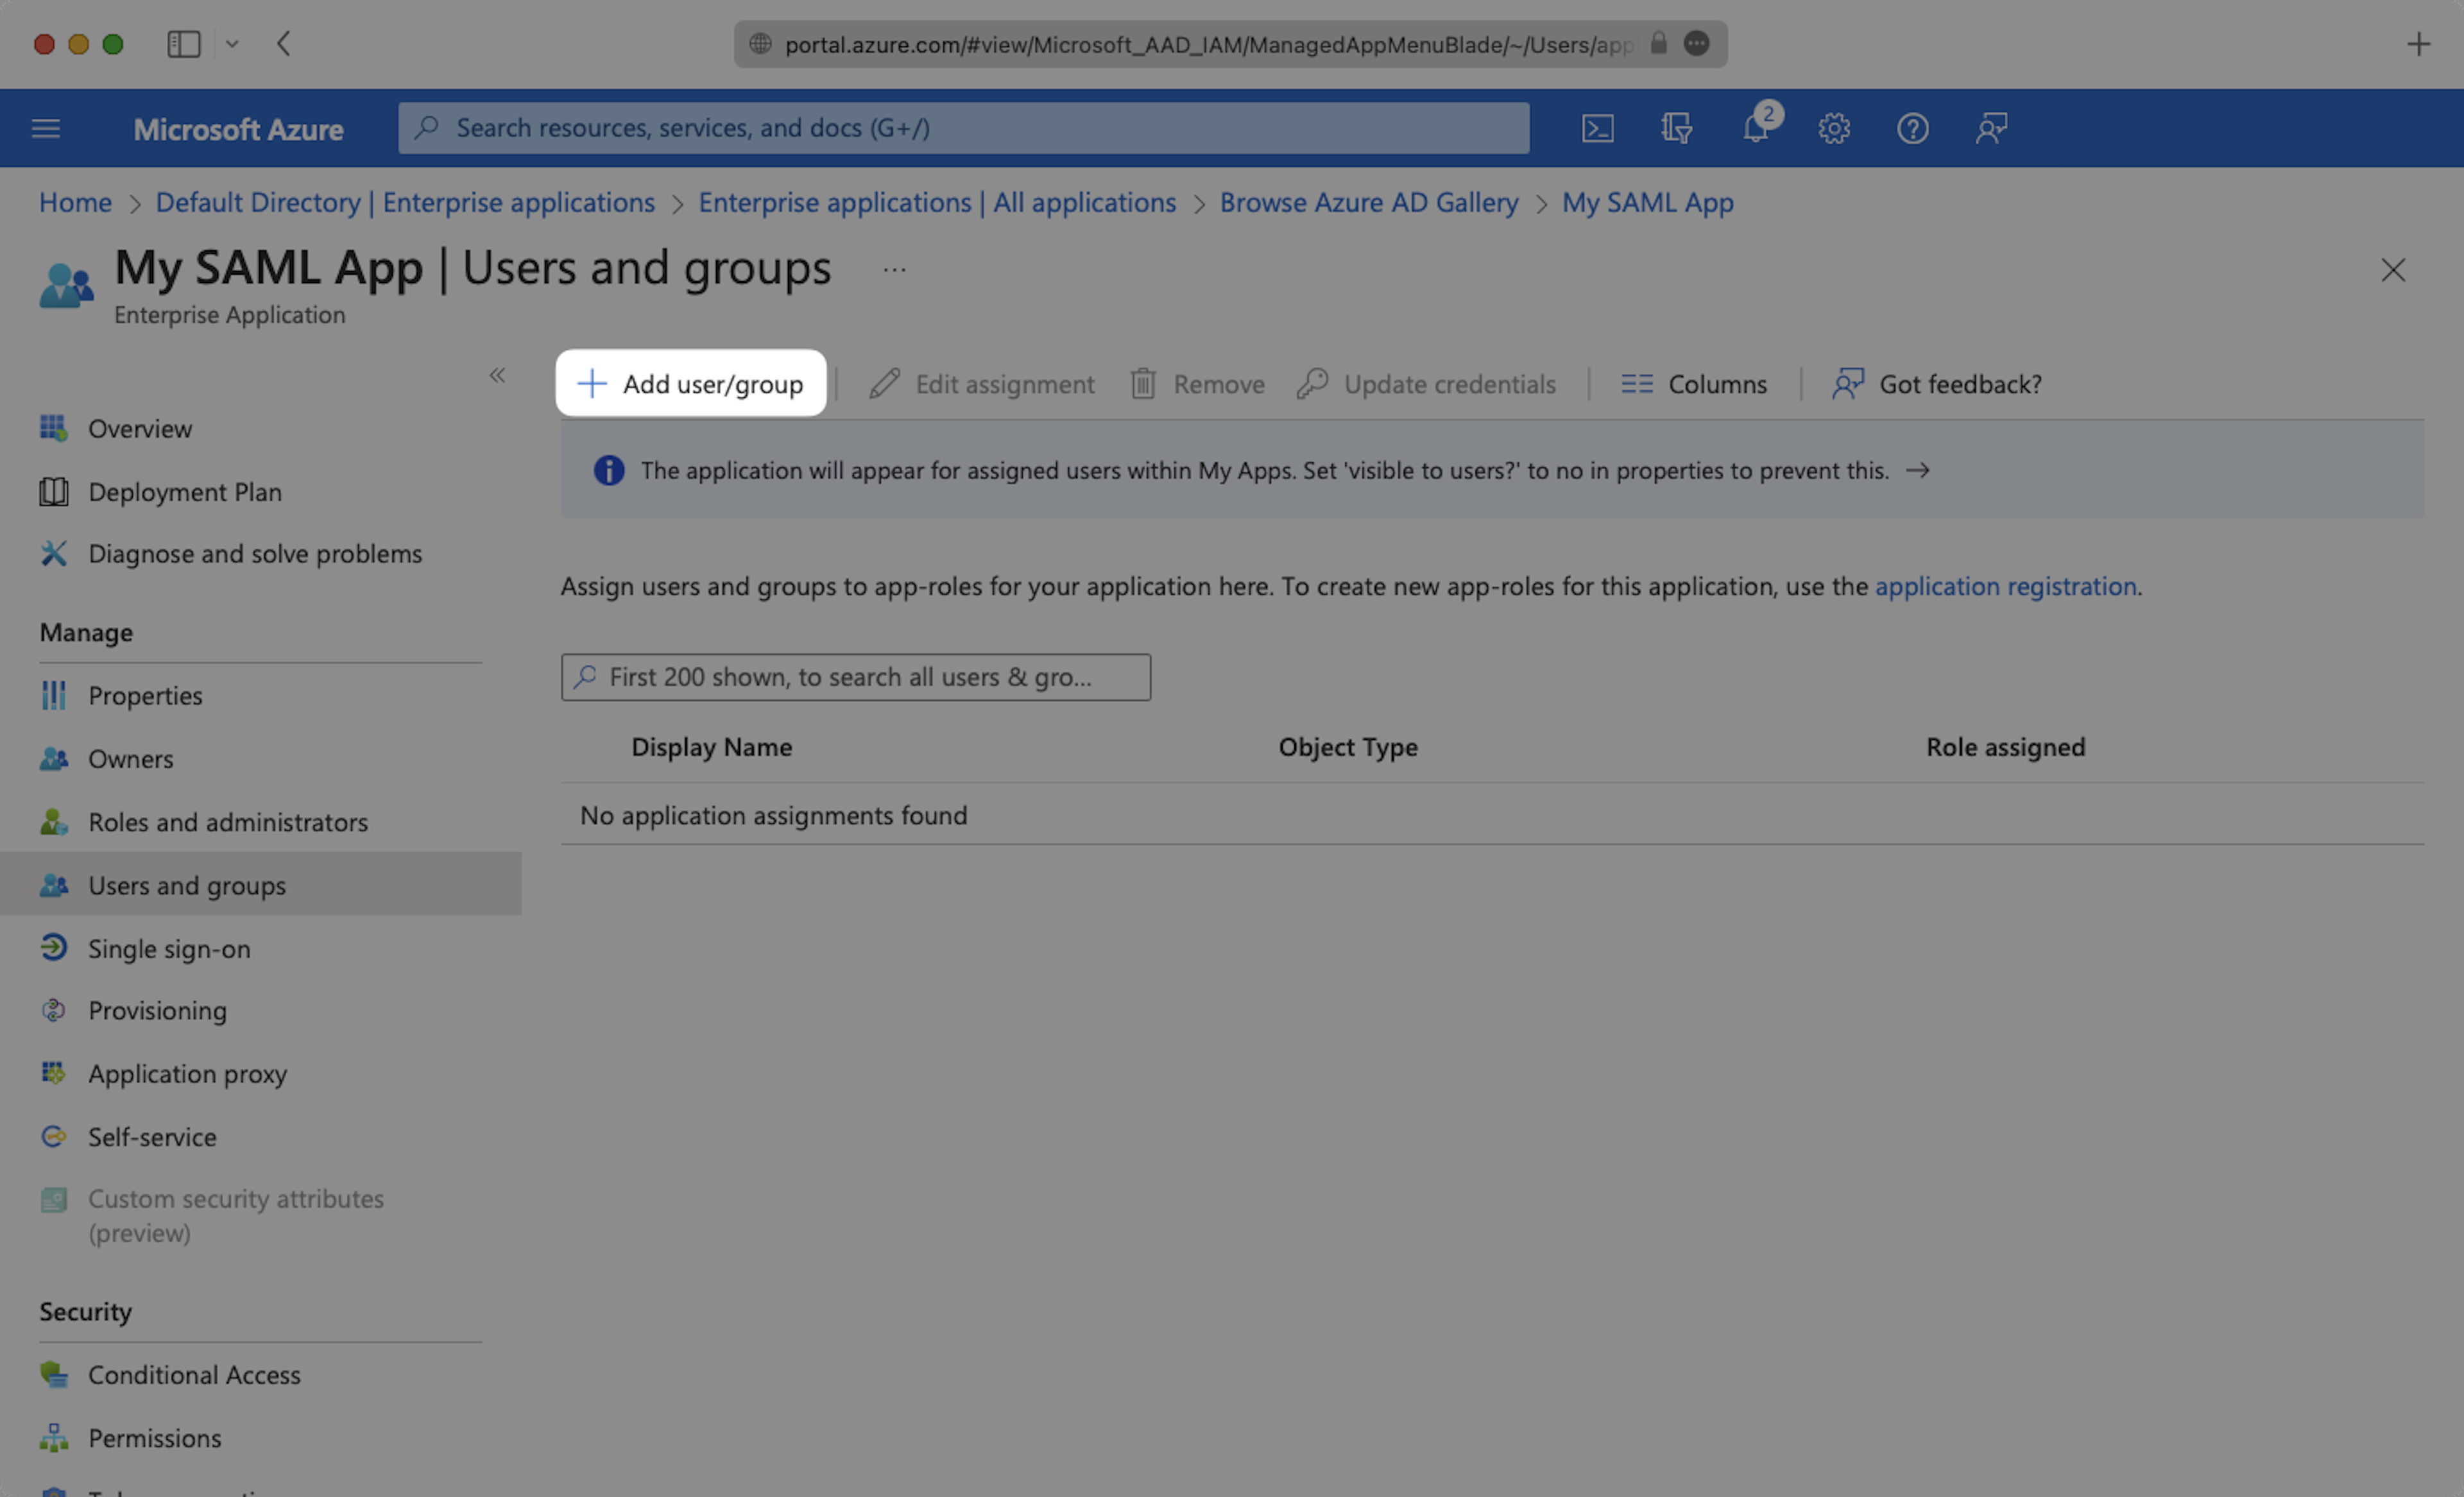
Select "Users and groups" from the "Manage" section of the navigation menu.

Select "Add user/group" from the top menu.
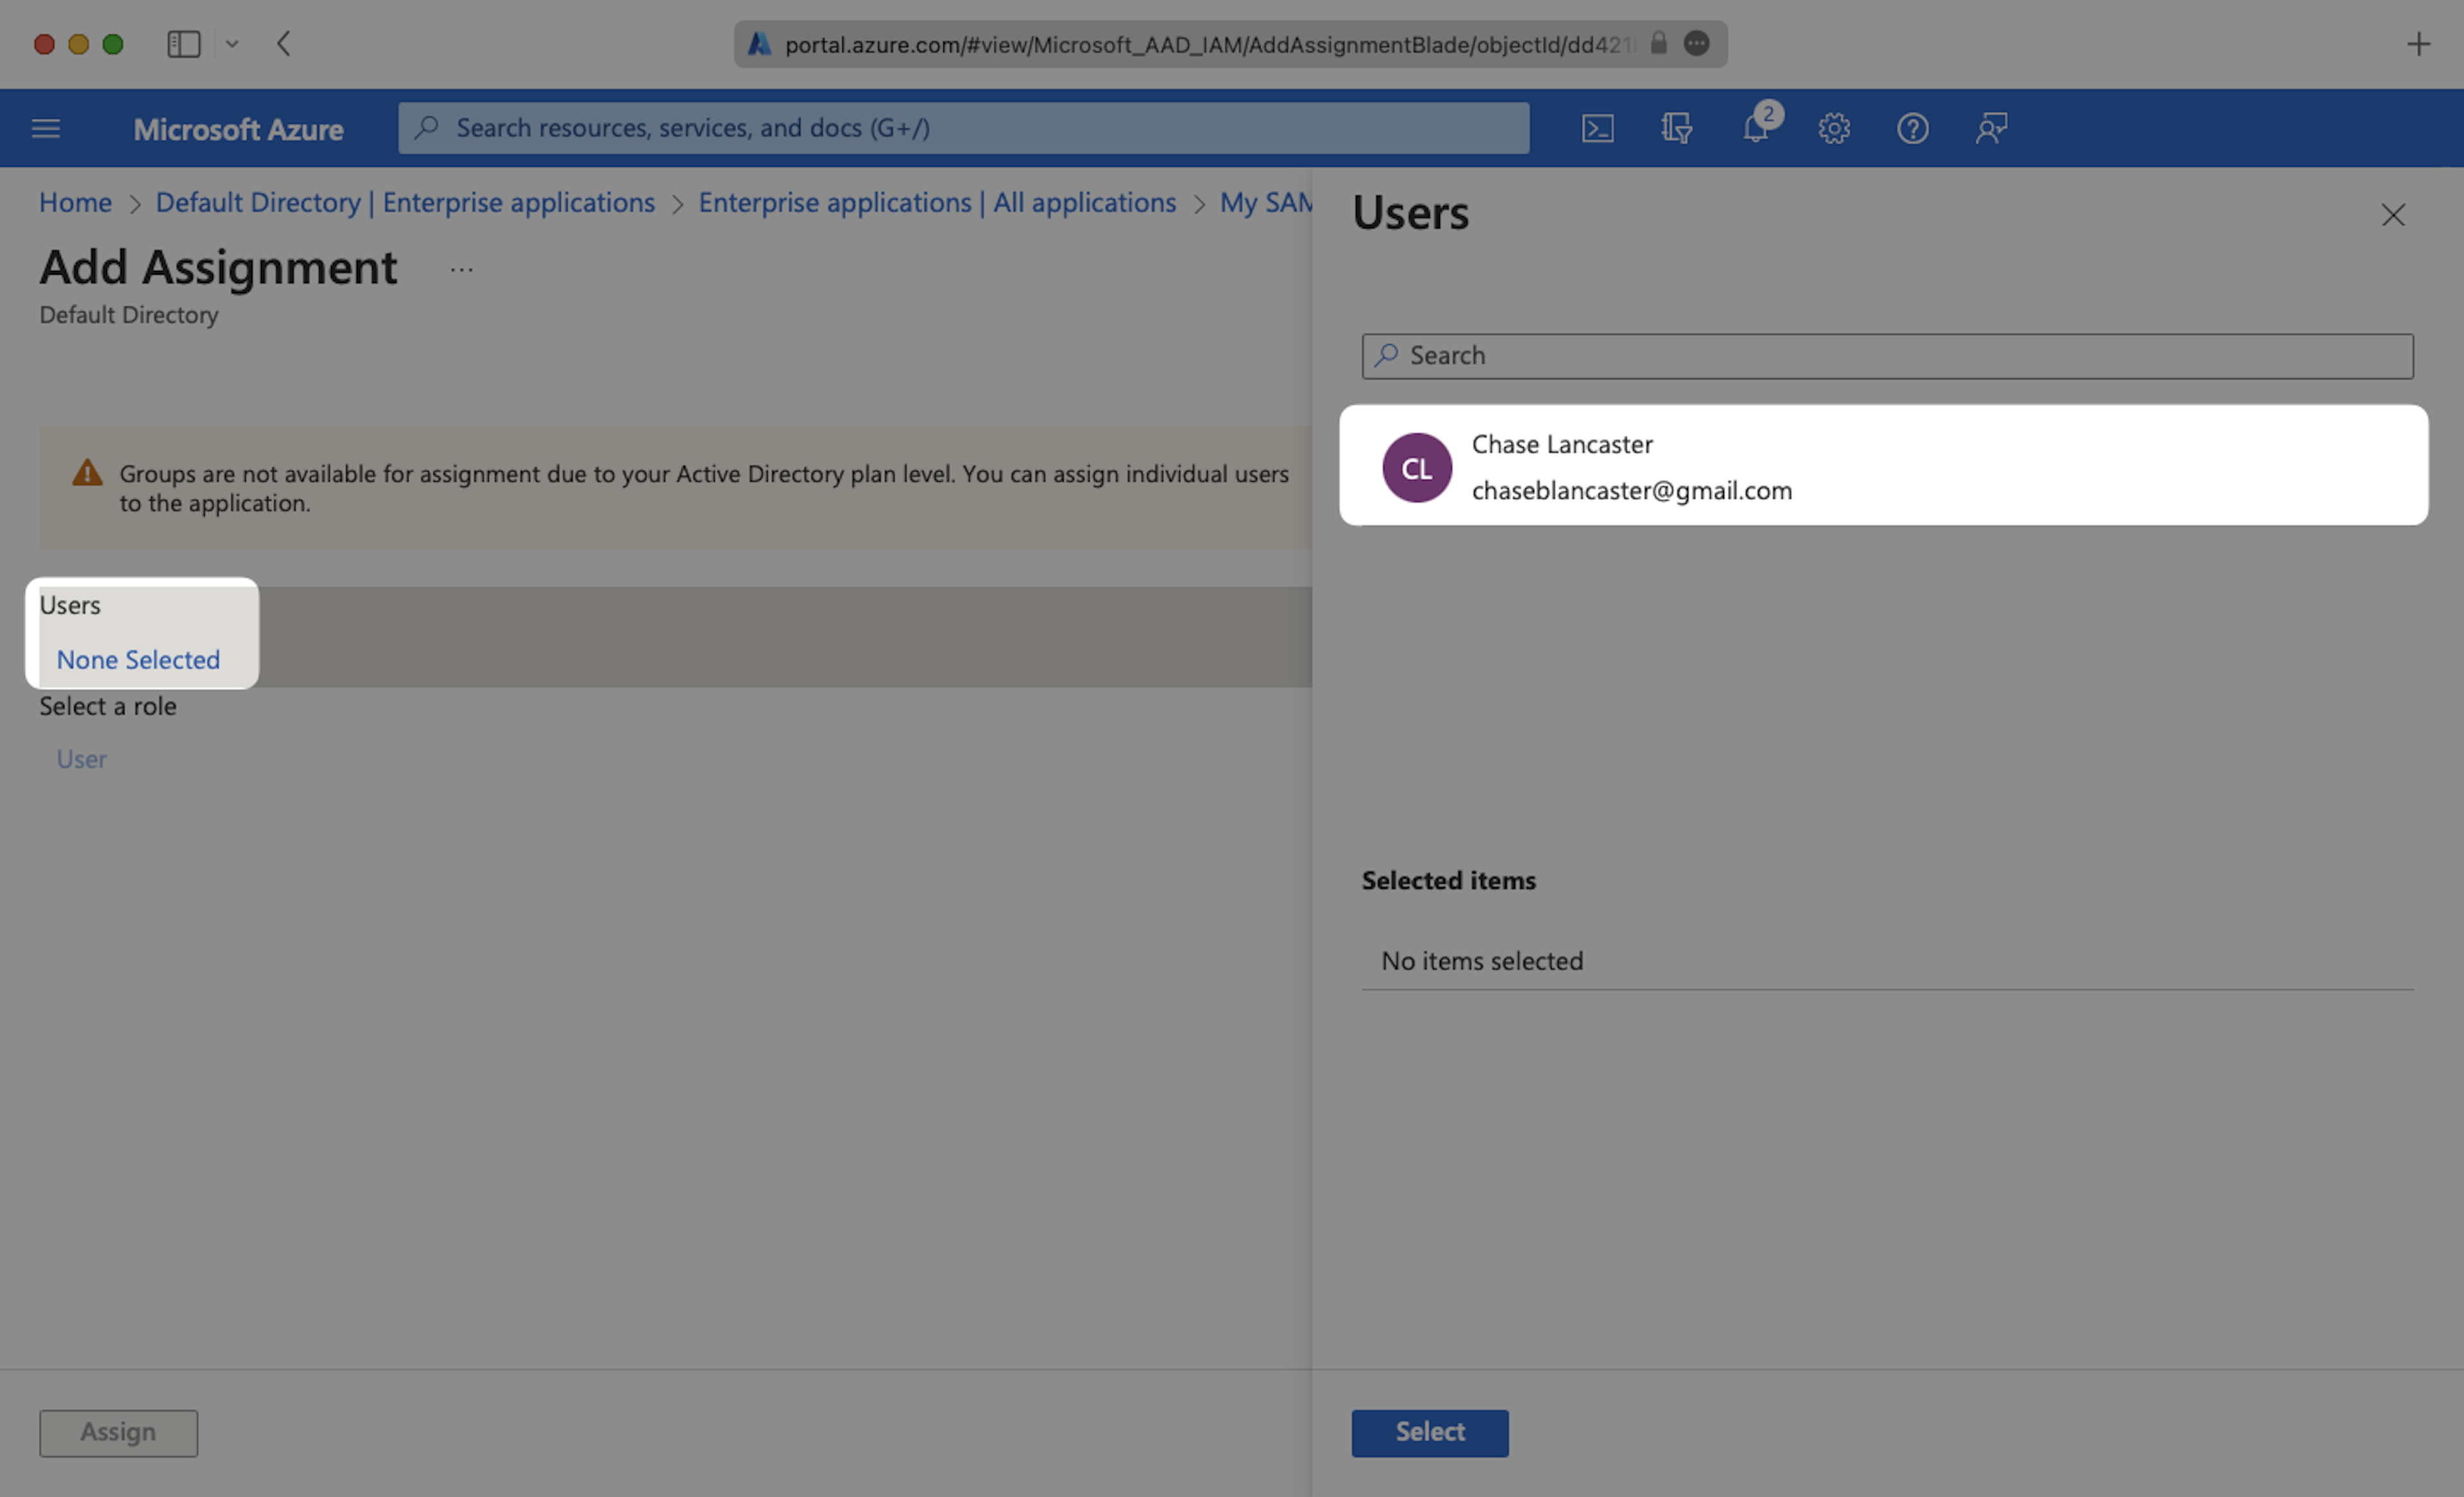
In the menu, select the users and groups of users that you want to add to the SAML application, and click "Select".
5) Upload IdP Metadata
Navigate down to Section 3 of the "Single Sign-On" page, to "SAML Signing Certificate". Copy the URL provided in "App Federation Metadata URL". Paste this URL into the text box displayed in the Spekit walkthrough.

*Please note that in the next step of the in-app walkthrough, you can test the configuration. If you intend to use JIT user provisioning then you're done but you must notify Spekit Support that you'll be using that provisioning type. If you intend to use SCIM then there is now another walkthrough in Spekit for you to complete.