Setting up Okta SAML SSO with Spekit? This guide provides a general overview of how to create an Okta SAML integration and connect it to Spekit, including configuring attribute statements, assigning users, and uploading your IdP metadata.
⚠️ Important: This guide provides a general overview of the SSO connection process and should not be used as a step-by-step configuration guide. To set up SSO with Spekit, go to the Connect page within your Spekit Web App and proceed through the in-app setup walkthrough.
📌 Quick-Jump Topics
- Step 1: Create a SAML Integration: Setting up a new SAML app in Okta
- Step 2: Configure Attribute Statements: Mapping user attributes for the SAML assertion
- Step 3: Assign Users to the SAML App: Granting access to individuals or groups
- Step 4: Upload IdP Metadata to Spekit: Completing the connection in your Spekit walkthrough
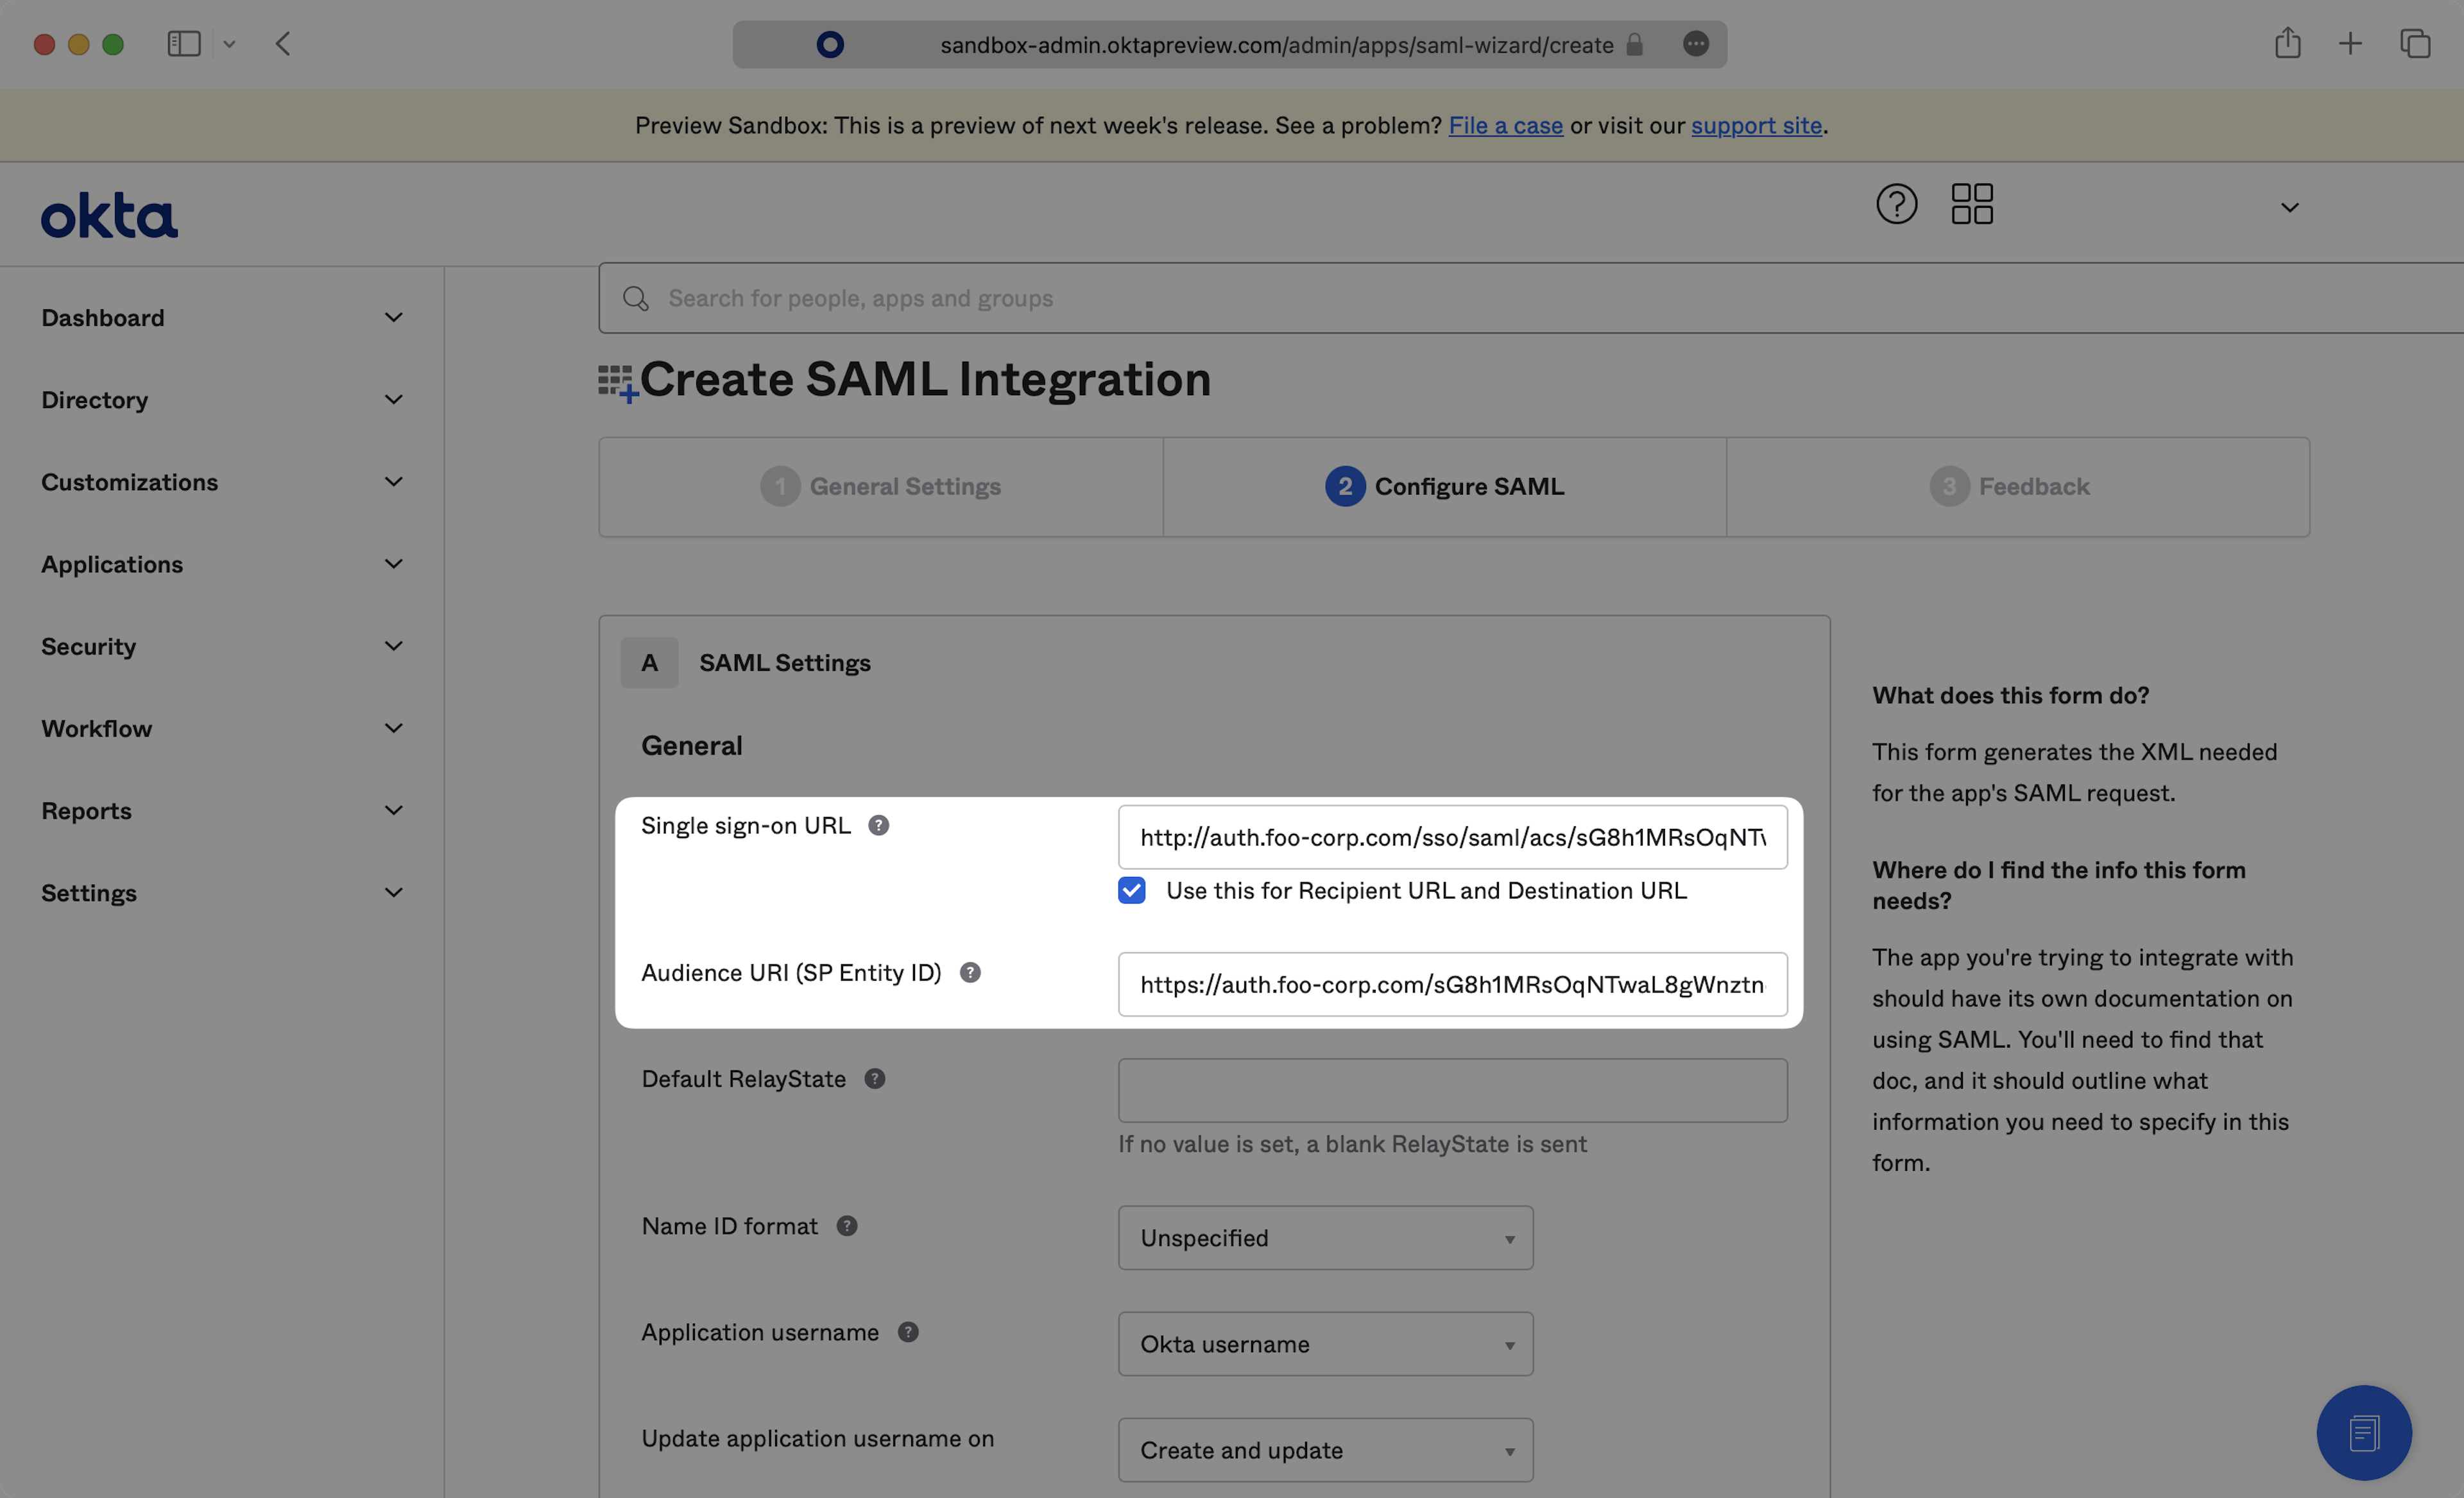
Step 1: Create a SAML Integration
How do I create a new SAML application in Okta?
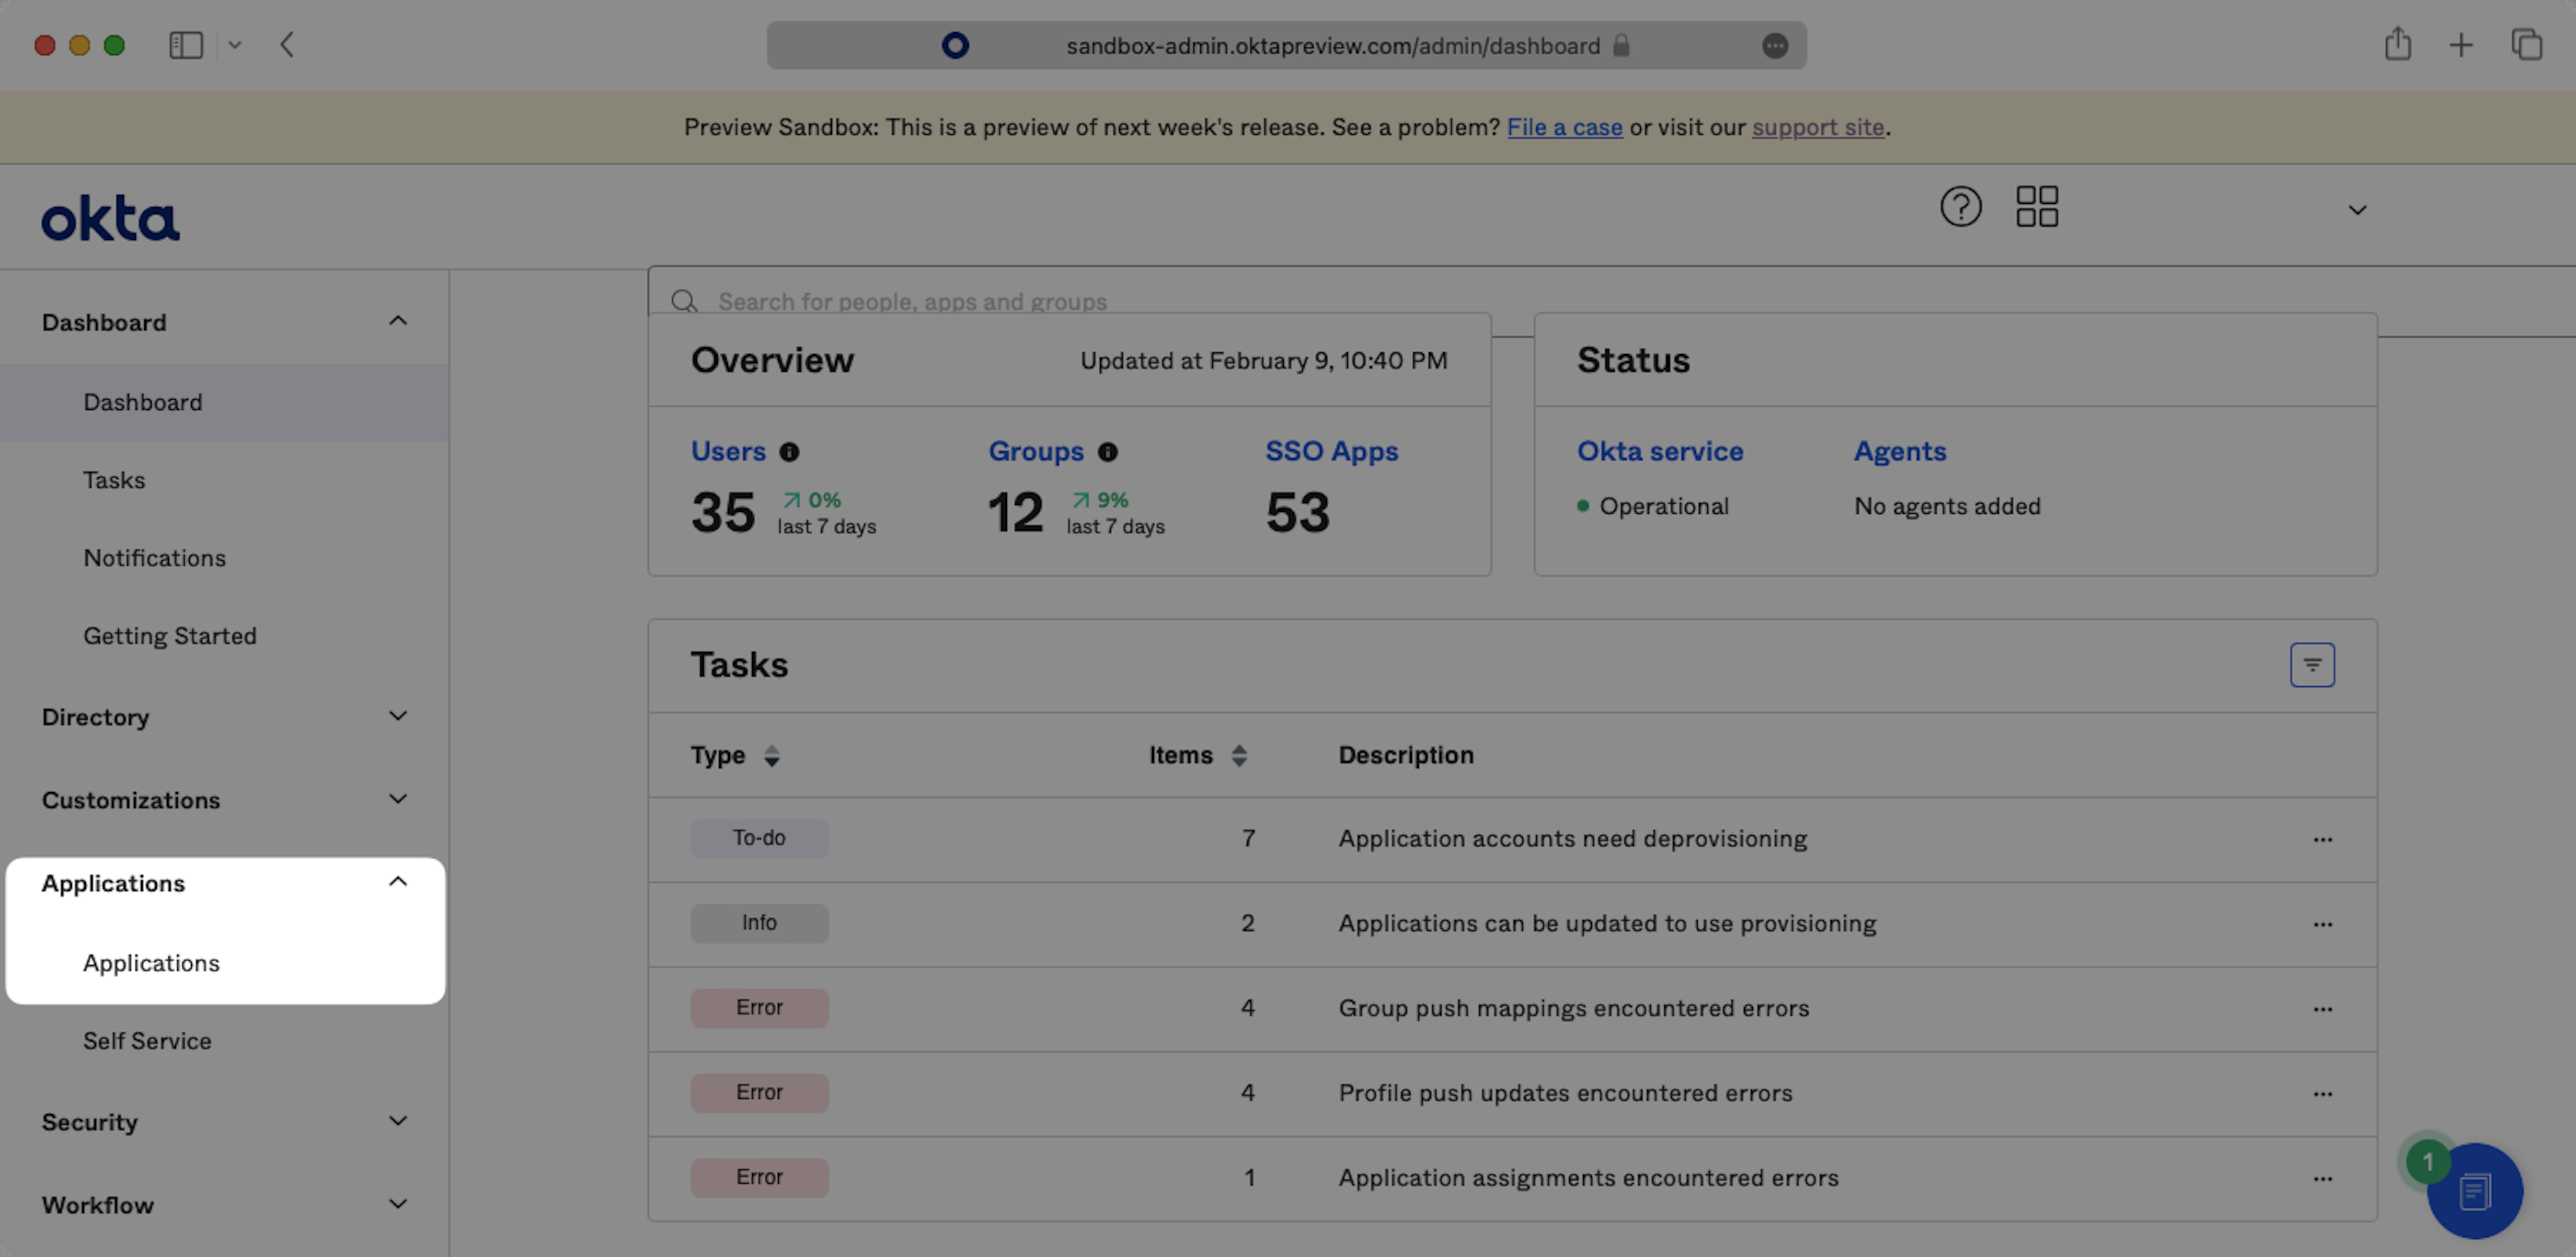
- Log in to your Okta Admin Dashboard.
- Click Applications in the left sidebar.
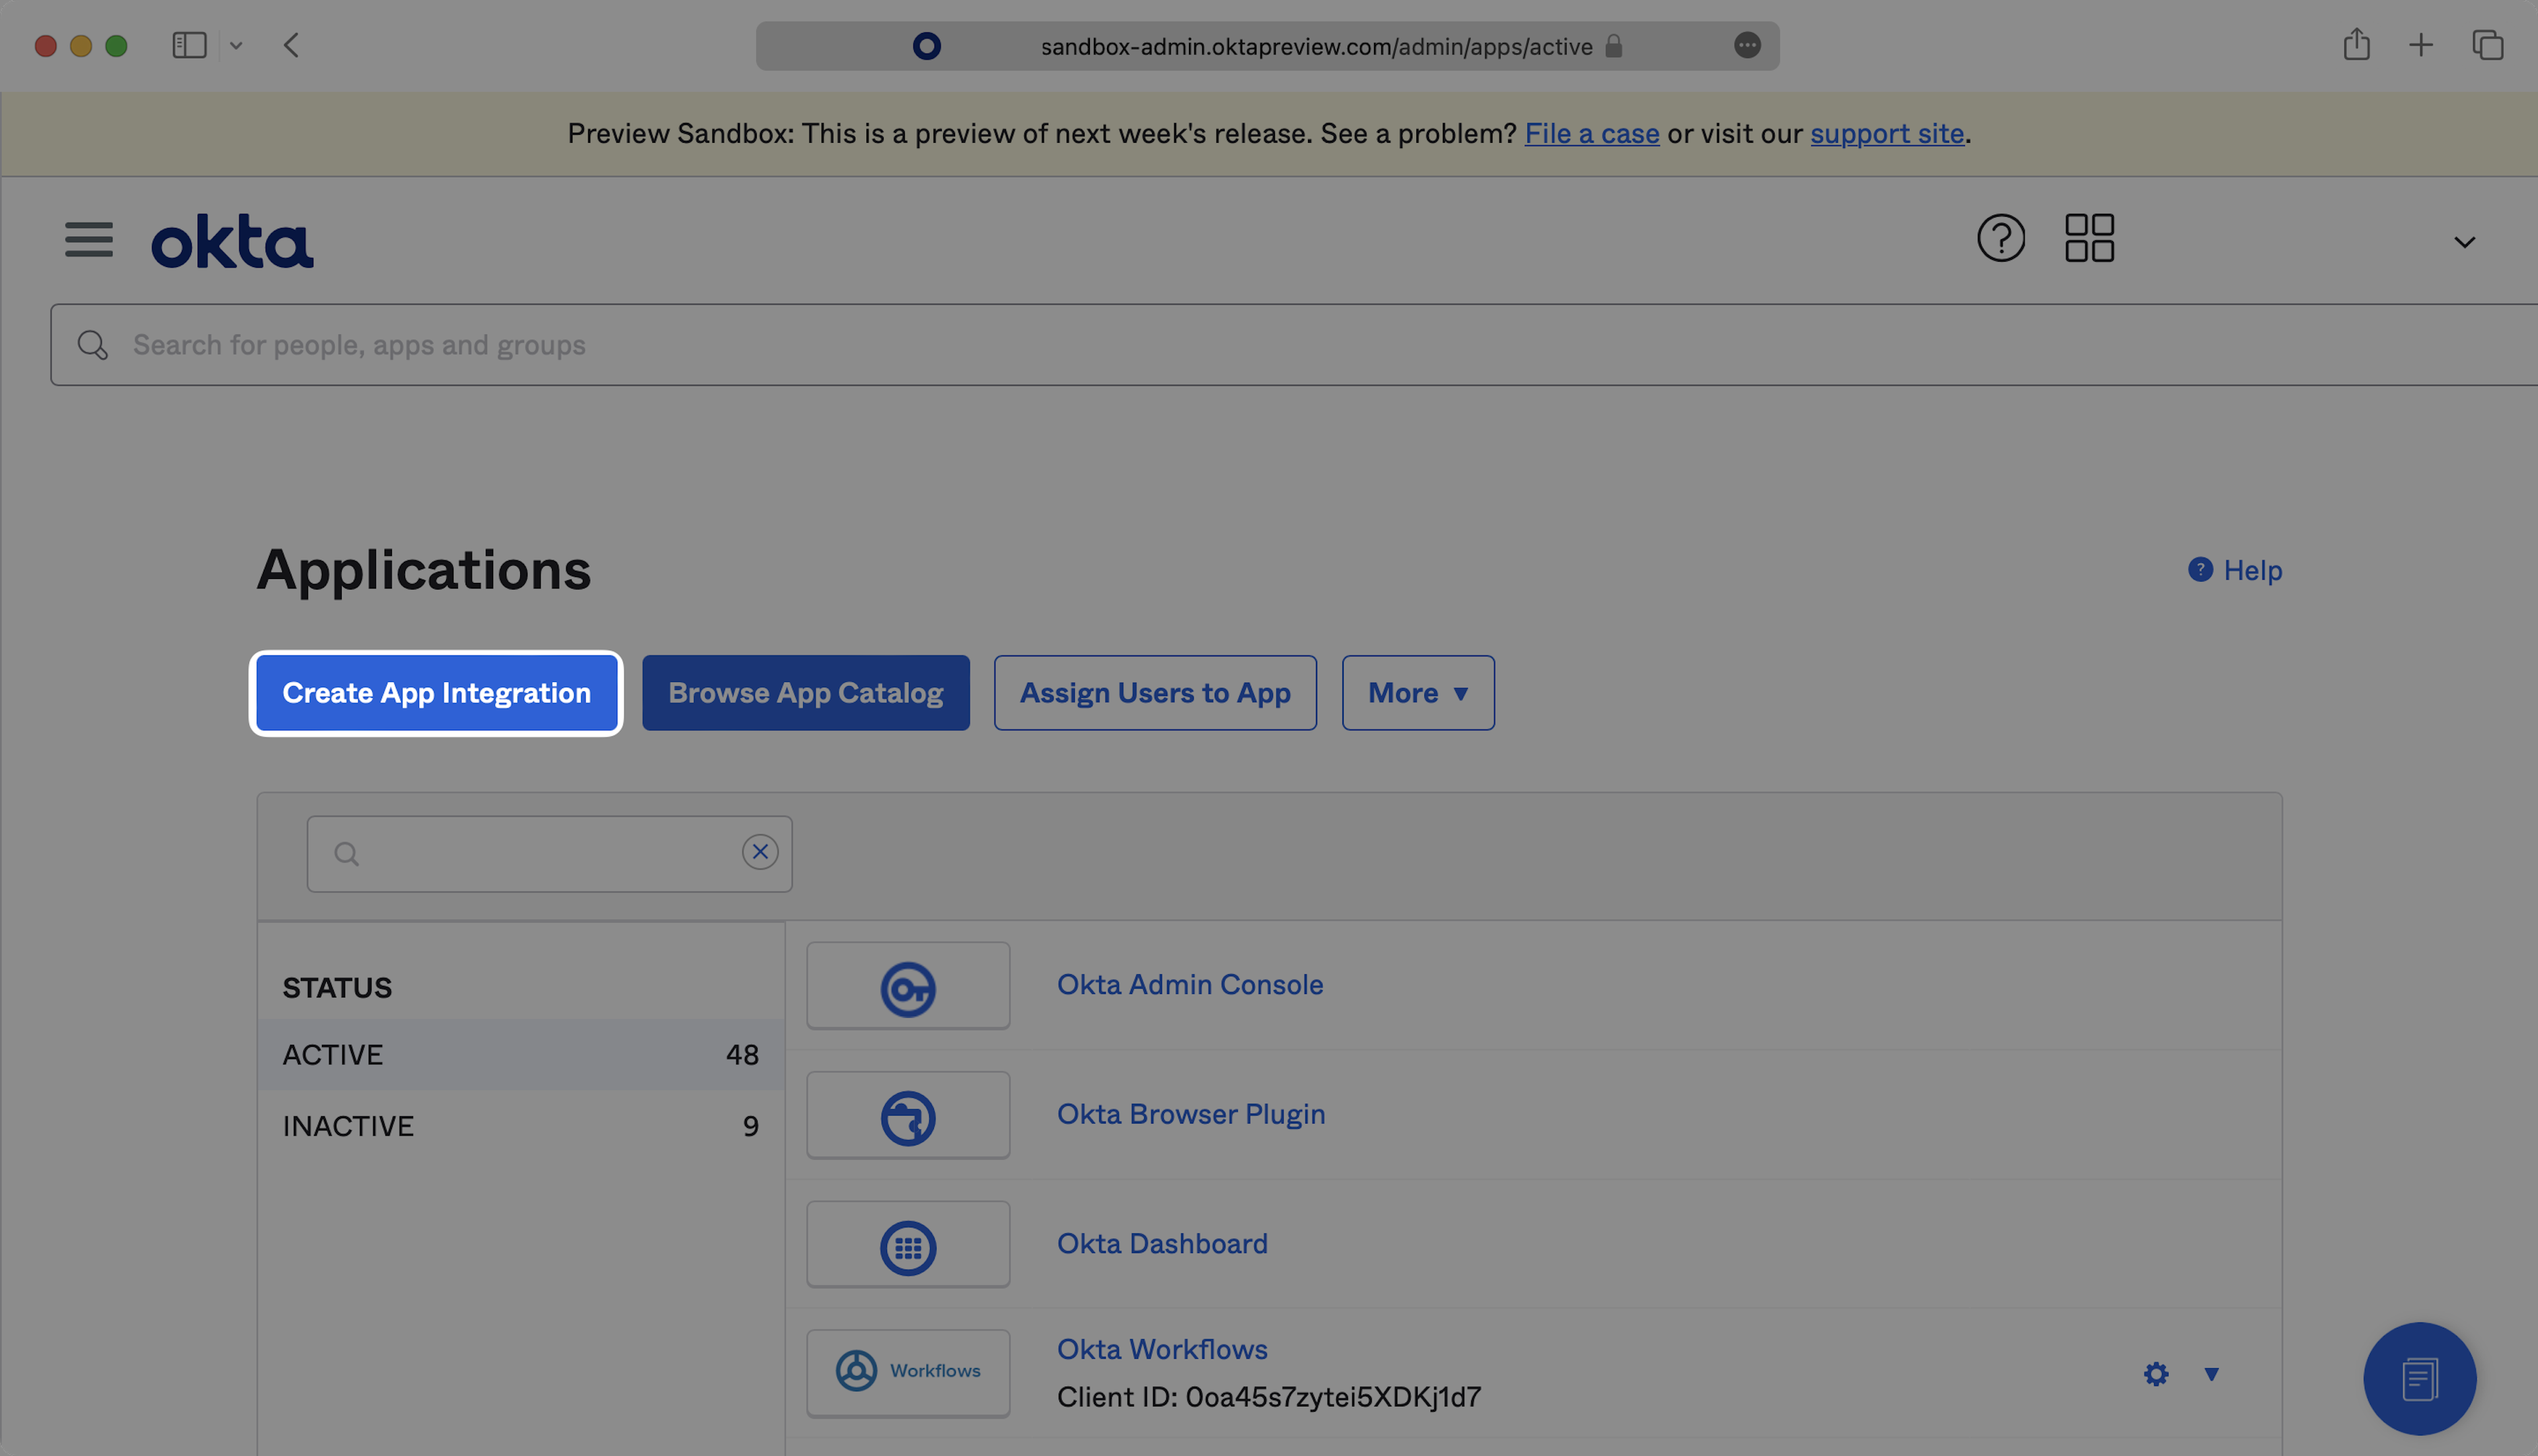
- Click Create App Integration.
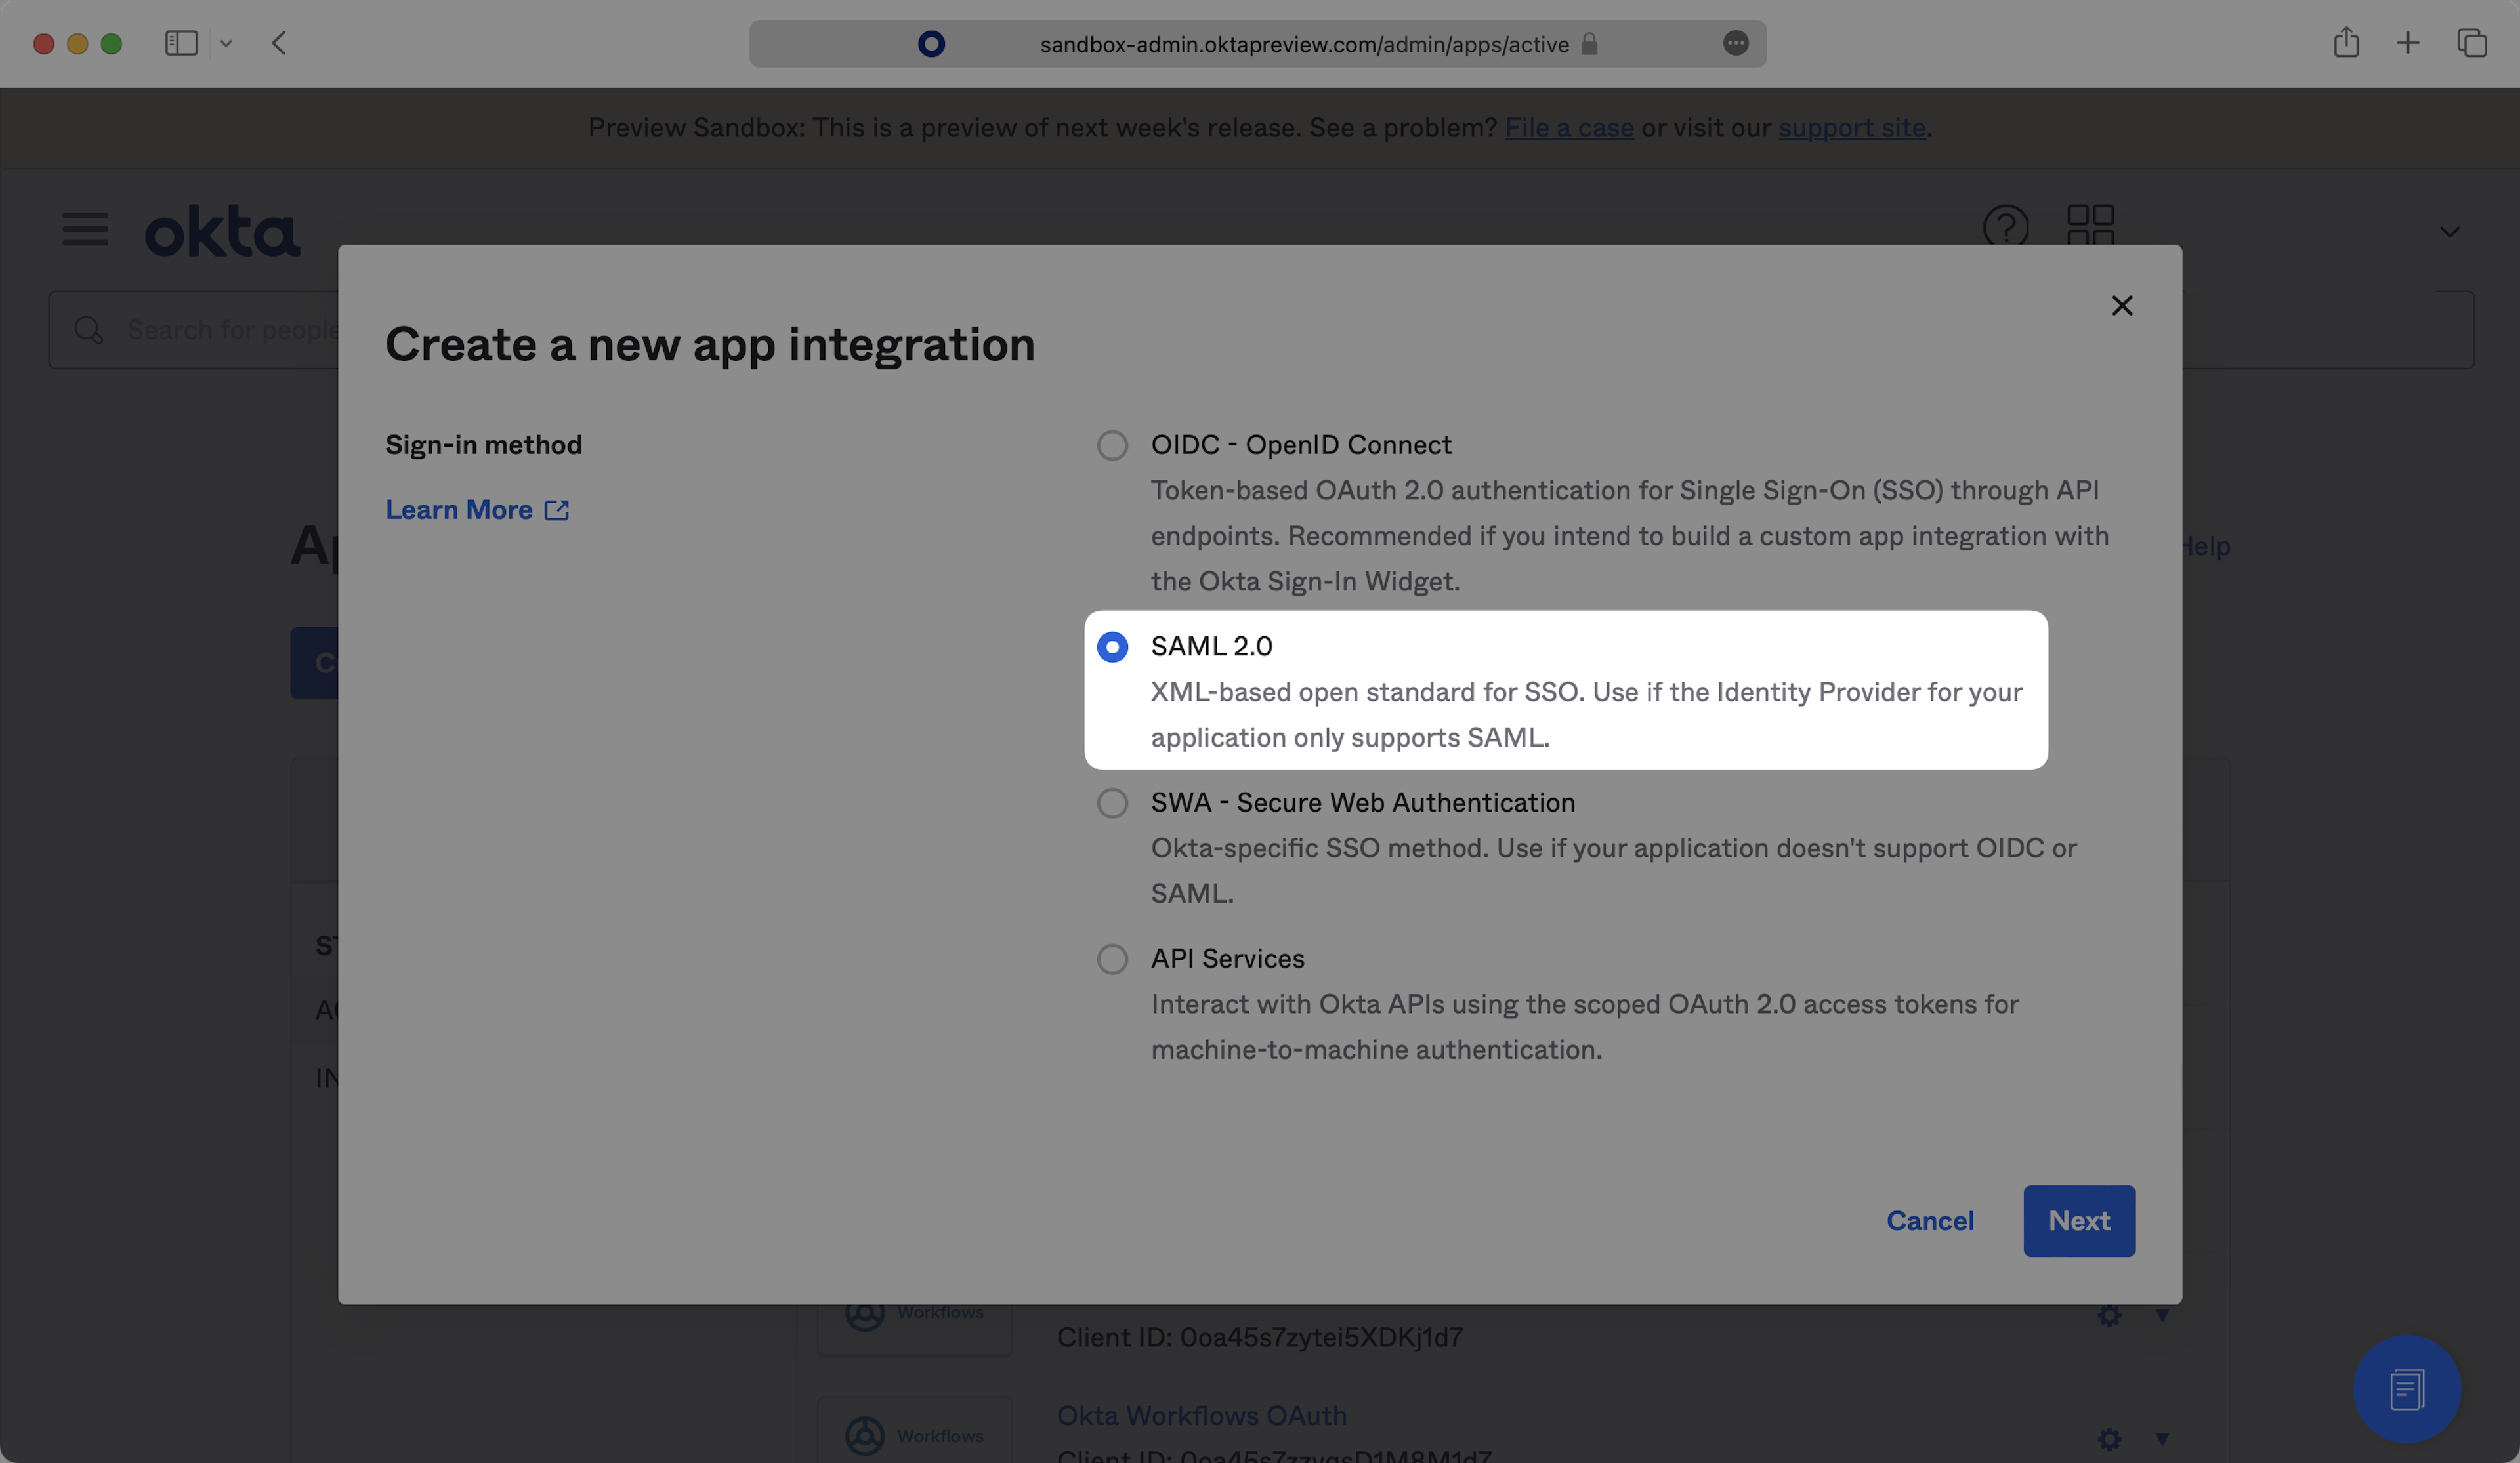
- Select SAML 2.0 as the sign-on method.
- Click Next.
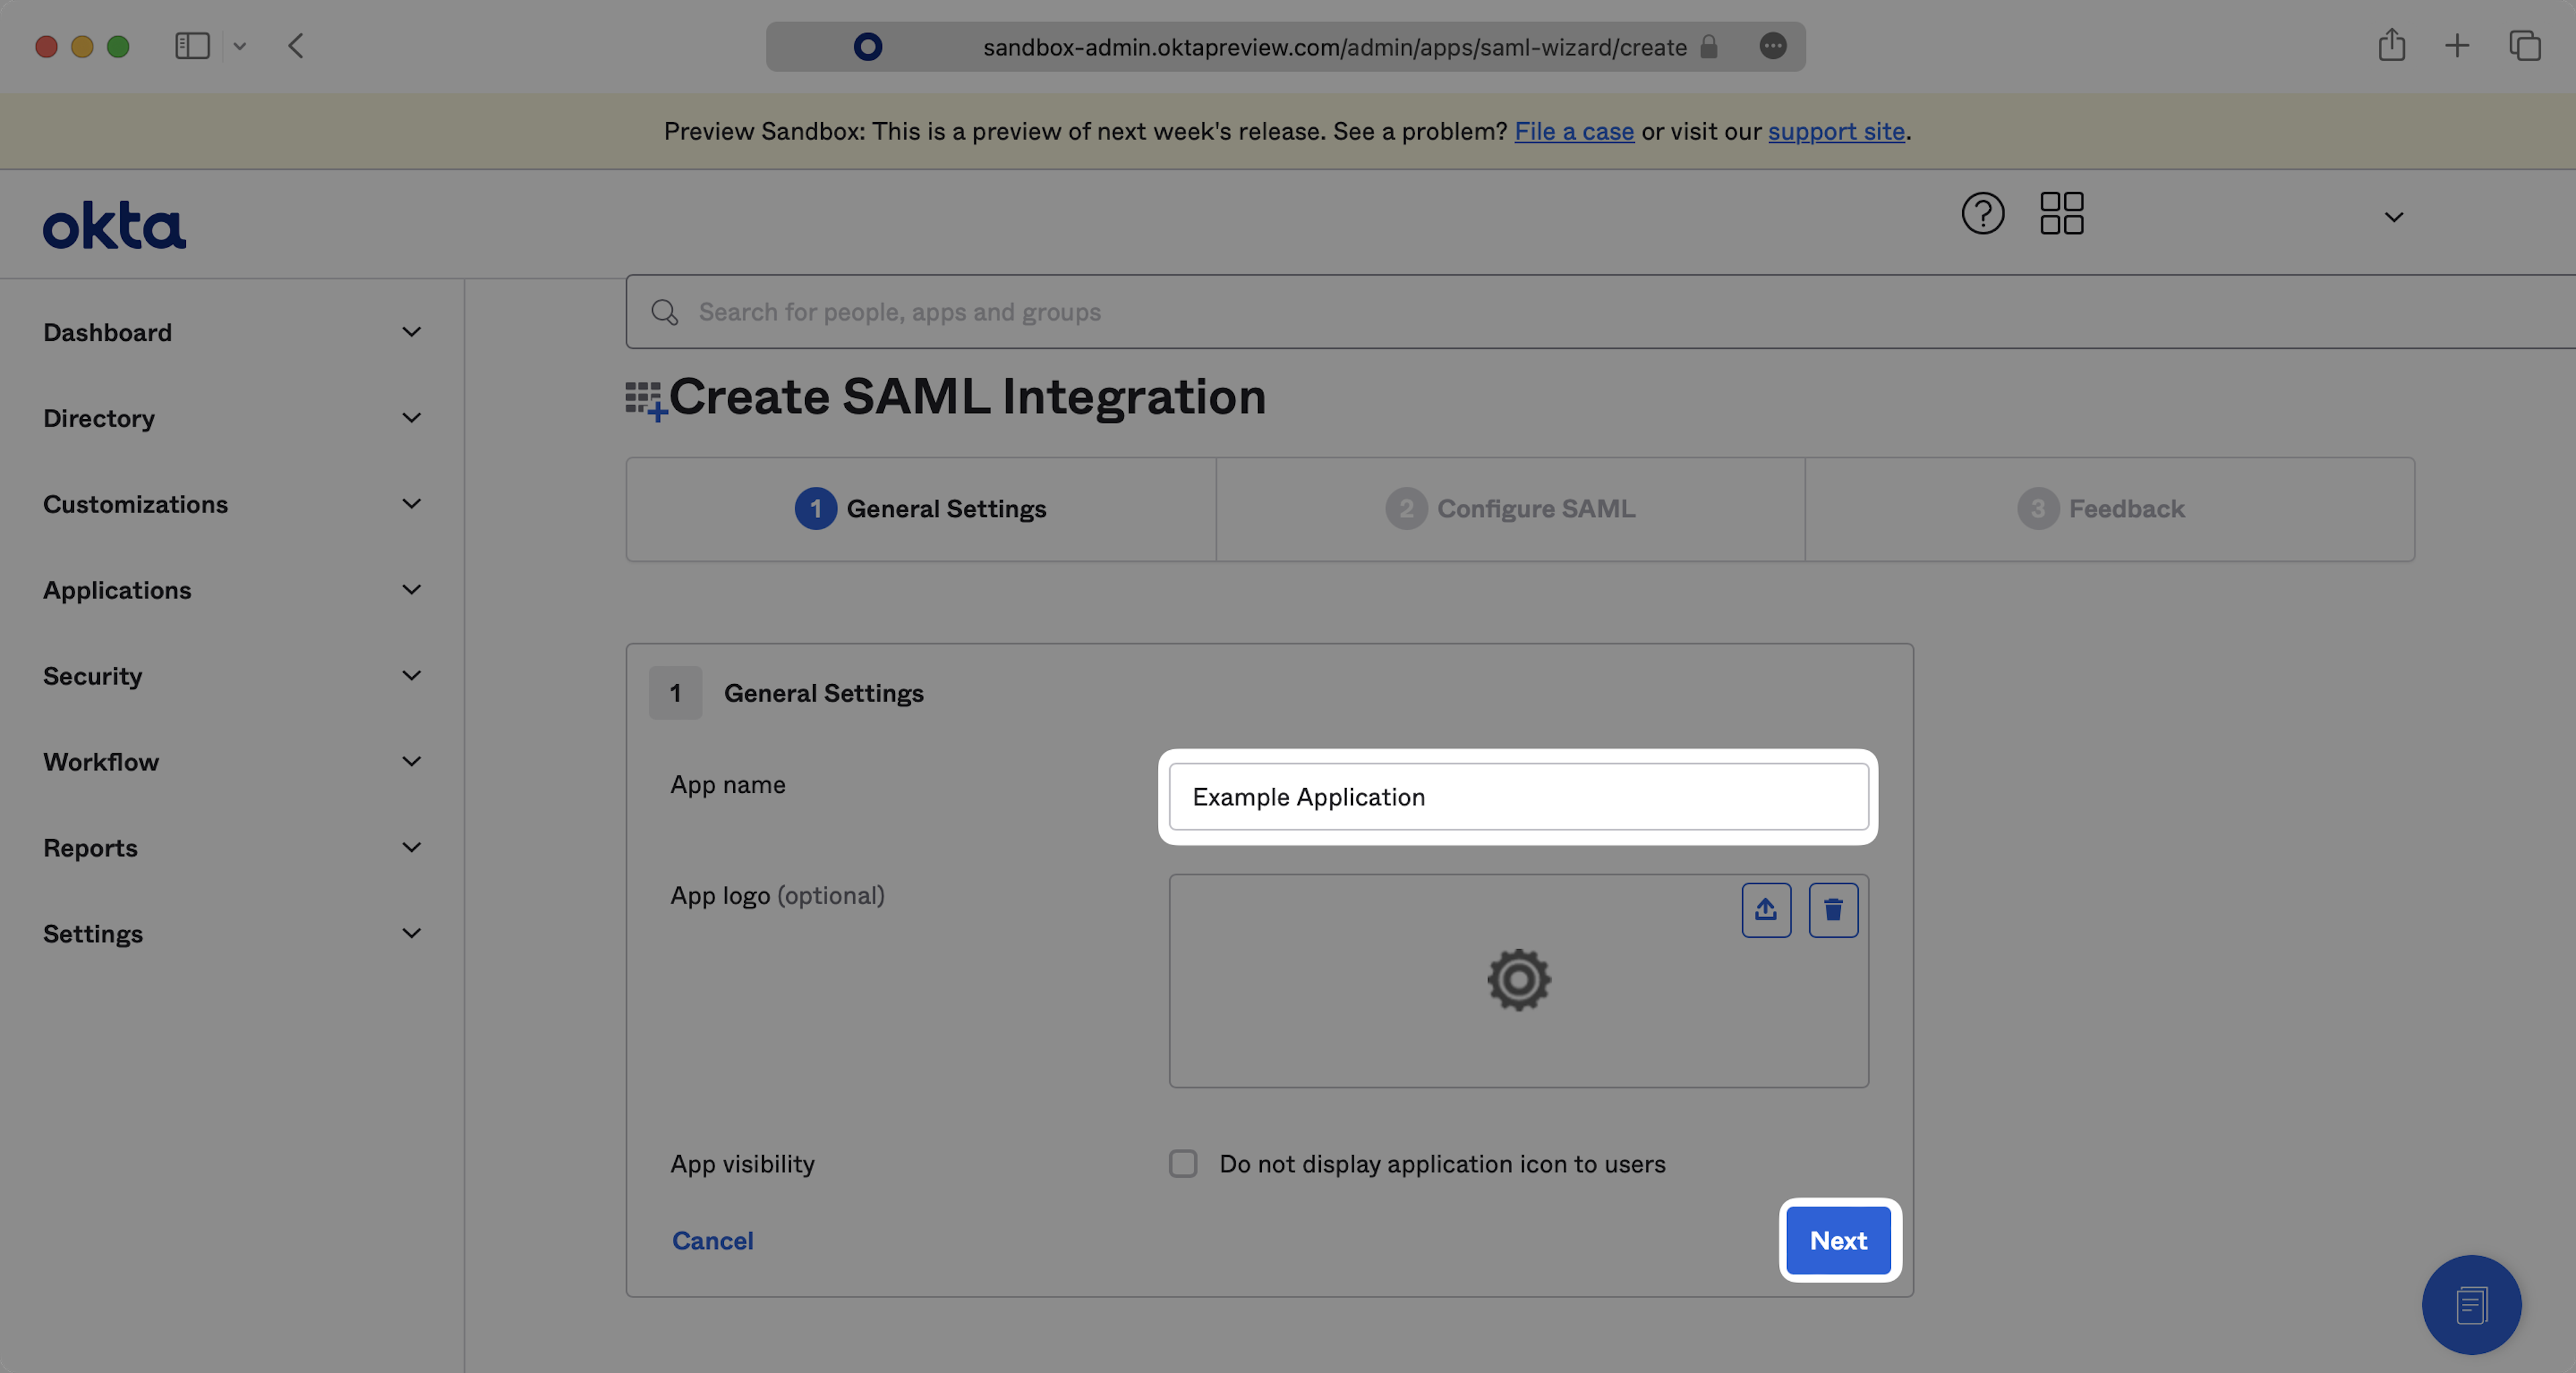
- Enter an app name such as Spekit.
- Click Next.
- Copy the Single Sign-On URL from your Spekit SSO walkthrough and paste it into the corresponding field in Okta.
- Copy the Audience URI from your Spekit SSO walkthrough and paste it into the corresponding field in Okta.
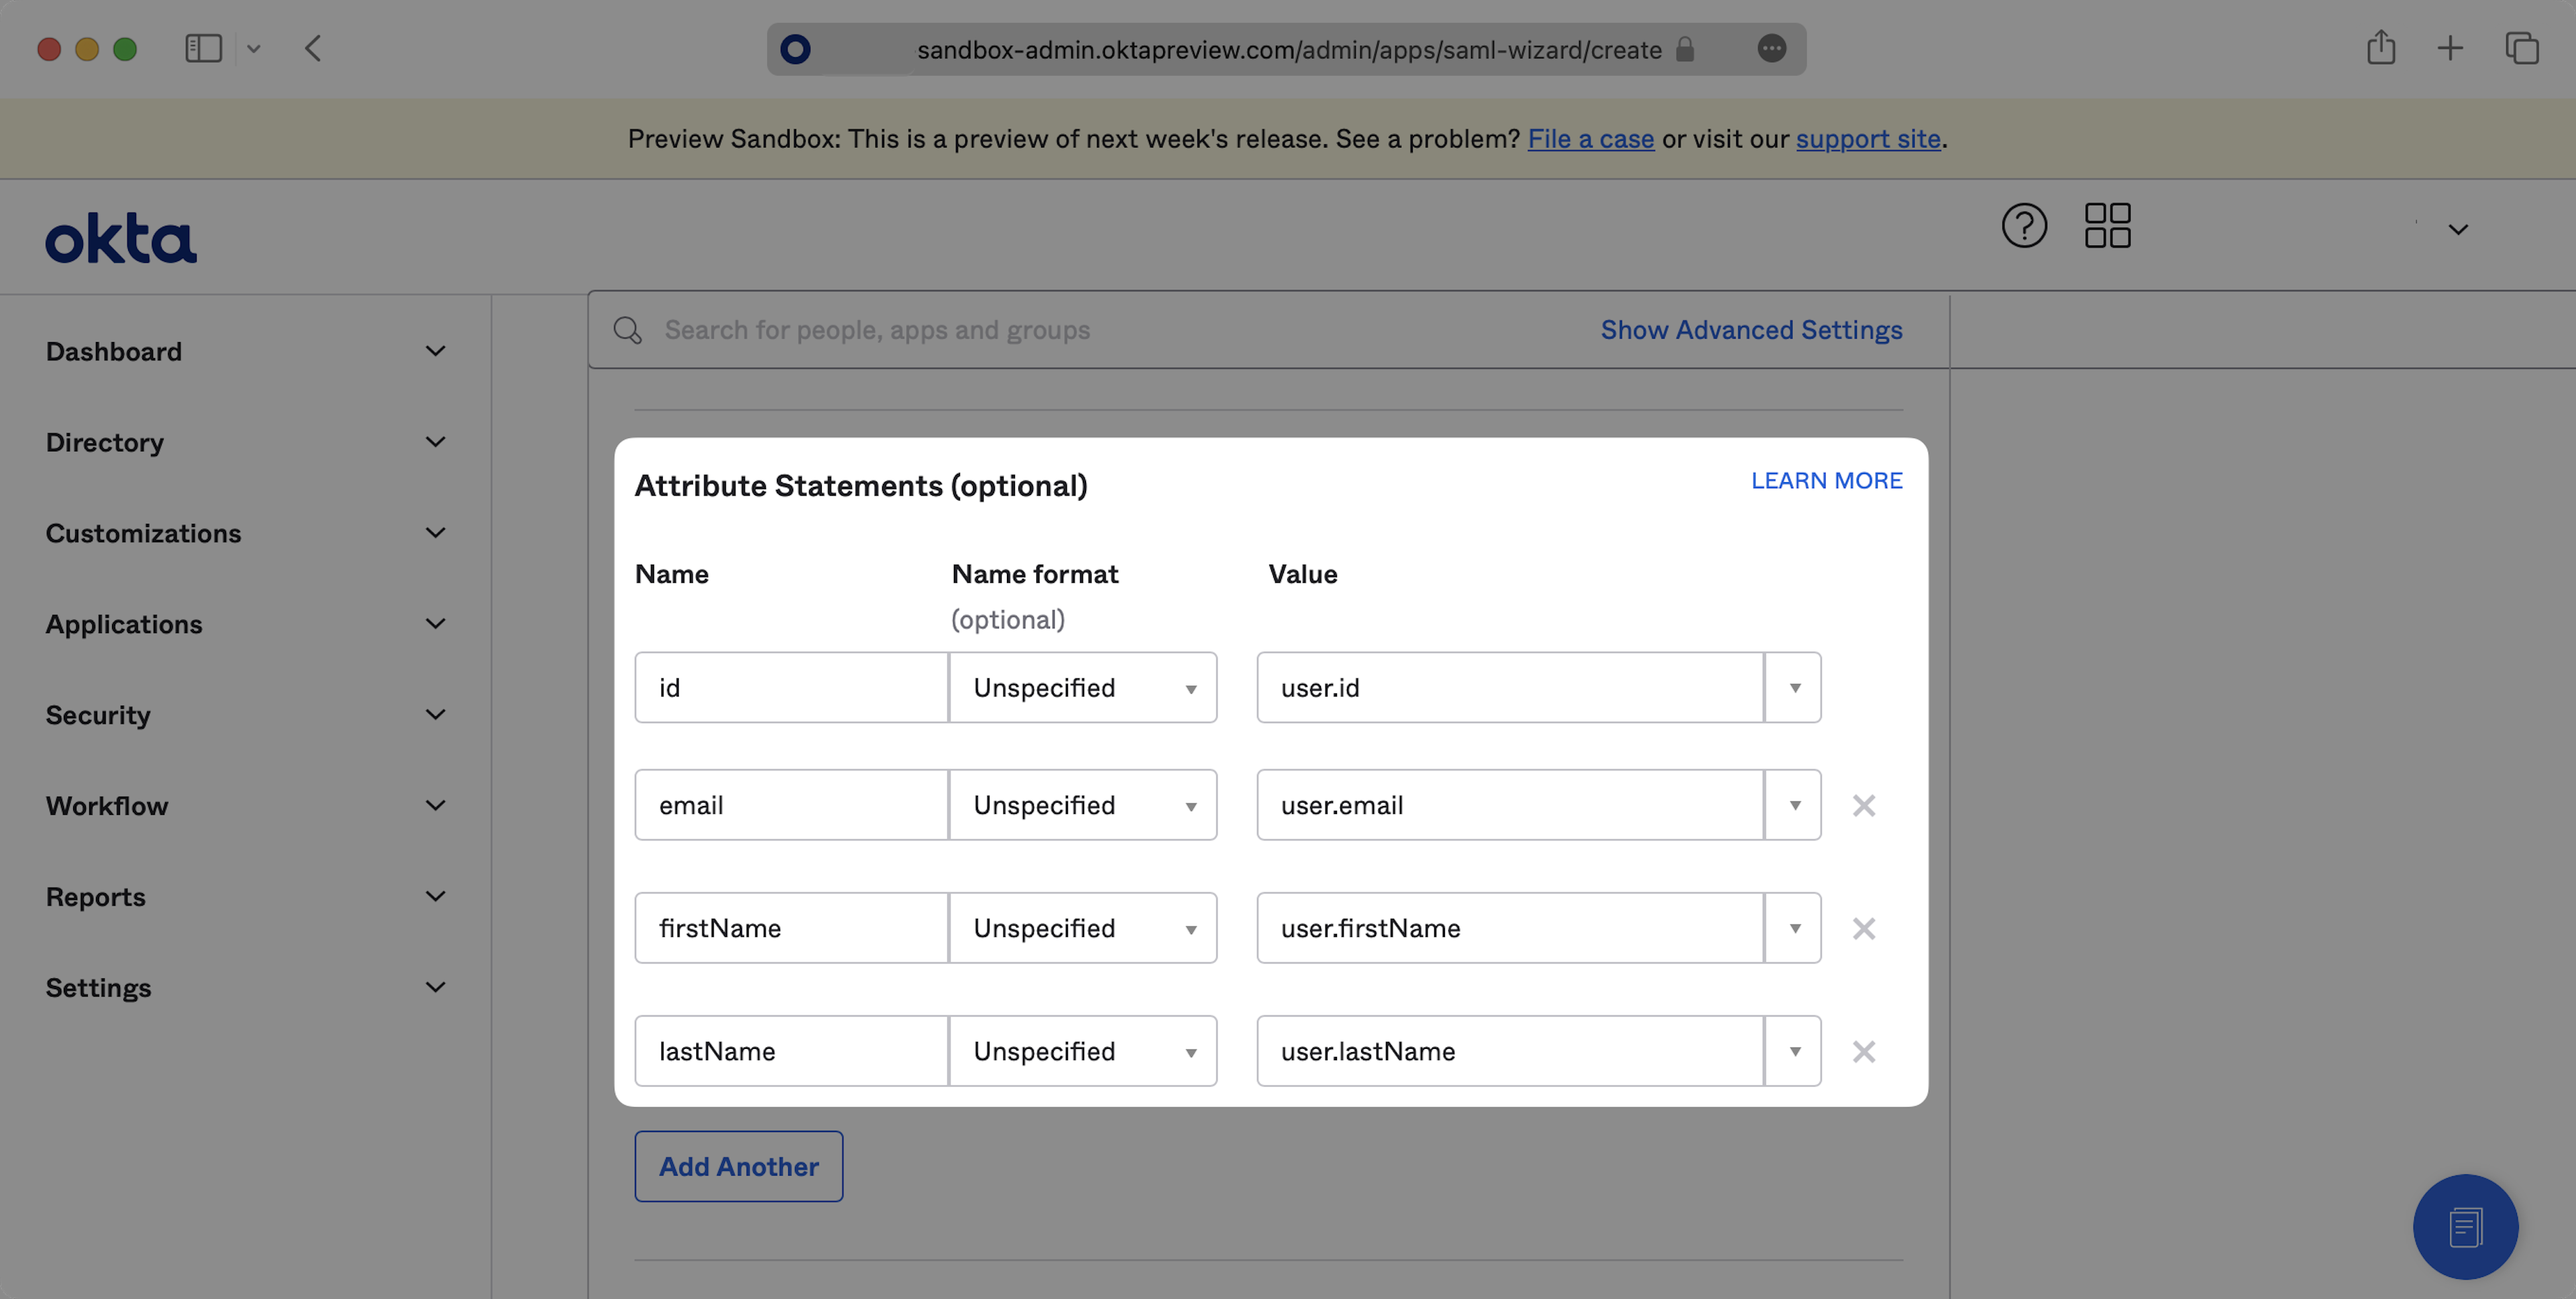
Step 2: Configure Attribute Statements
How do I configure the attribute statements for the Spekit SAML app?
- Within your SAML application, navigate to the Attribute Statements configuration section.
- Configure the attribute statements as shown in your Spekit in-app walkthrough.
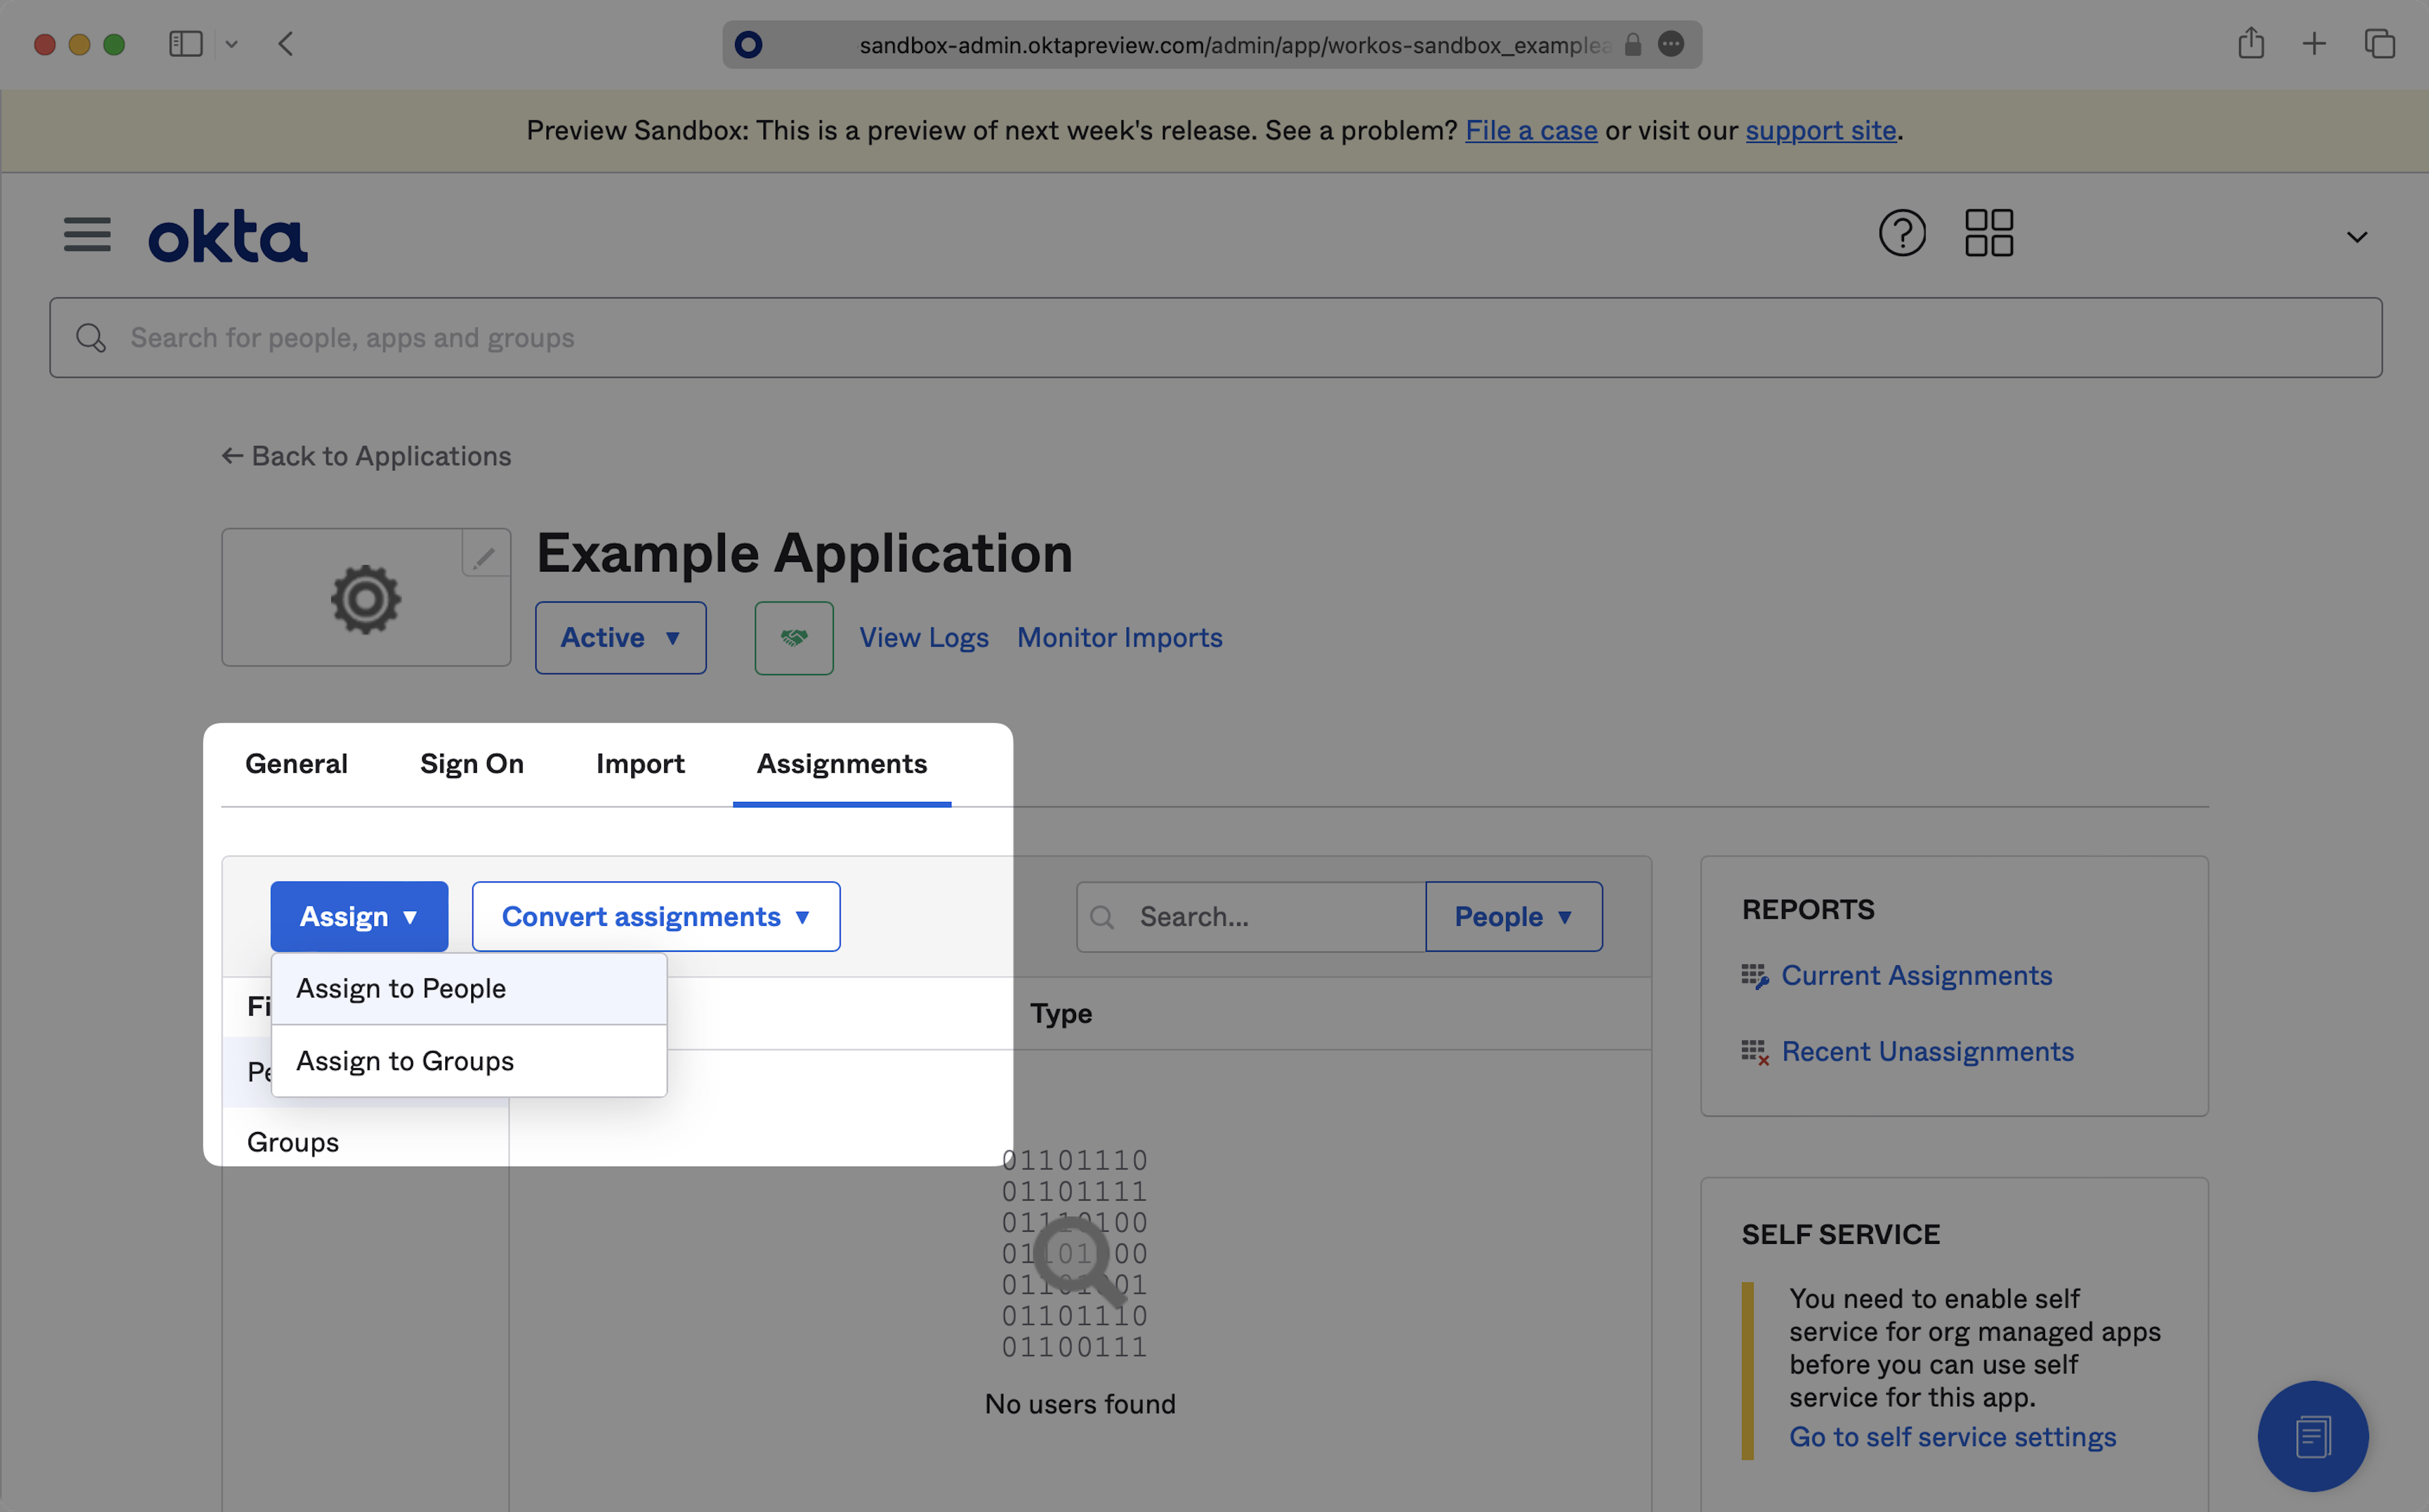
Step 3: Assign Users to the SAML App
How do I grant users or groups access to the Spekit SAML application?
- Click the Assignments tab within your Spekit SAML application.
- Click Assign and choose either Assign to People to add individual users or Assign to Groups to add entire groups.
- Select the users or groups you want to grant access to and confirm the assignment.
Step 4: Upload IdP Metadata to Spekit
How do I complete the connection by uploading the Okta metadata to Spekit?
- Click the Sign-On tab within your Spekit SAML application in Okta.
- Copy the Metadata URL shown on that page.
- Paste it into the IdP Metadata URL field in your Spekit in-app SSO walkthrough.
ℹ️ What's next? After uploading the metadata URL, you can test the configuration in the next step of the in-app walkthrough. From there:
- If you plan to use JIT (Just-in-Time) user provisioning, you are done but you must notify Spekit Support that you will be using this provisioning type.
- If you plan to use SCIM provisioning, a separate SCIM walkthrough is available in Spekit for you to complete.